Vegan High-Protein Peanut Butter Protein Smoothie
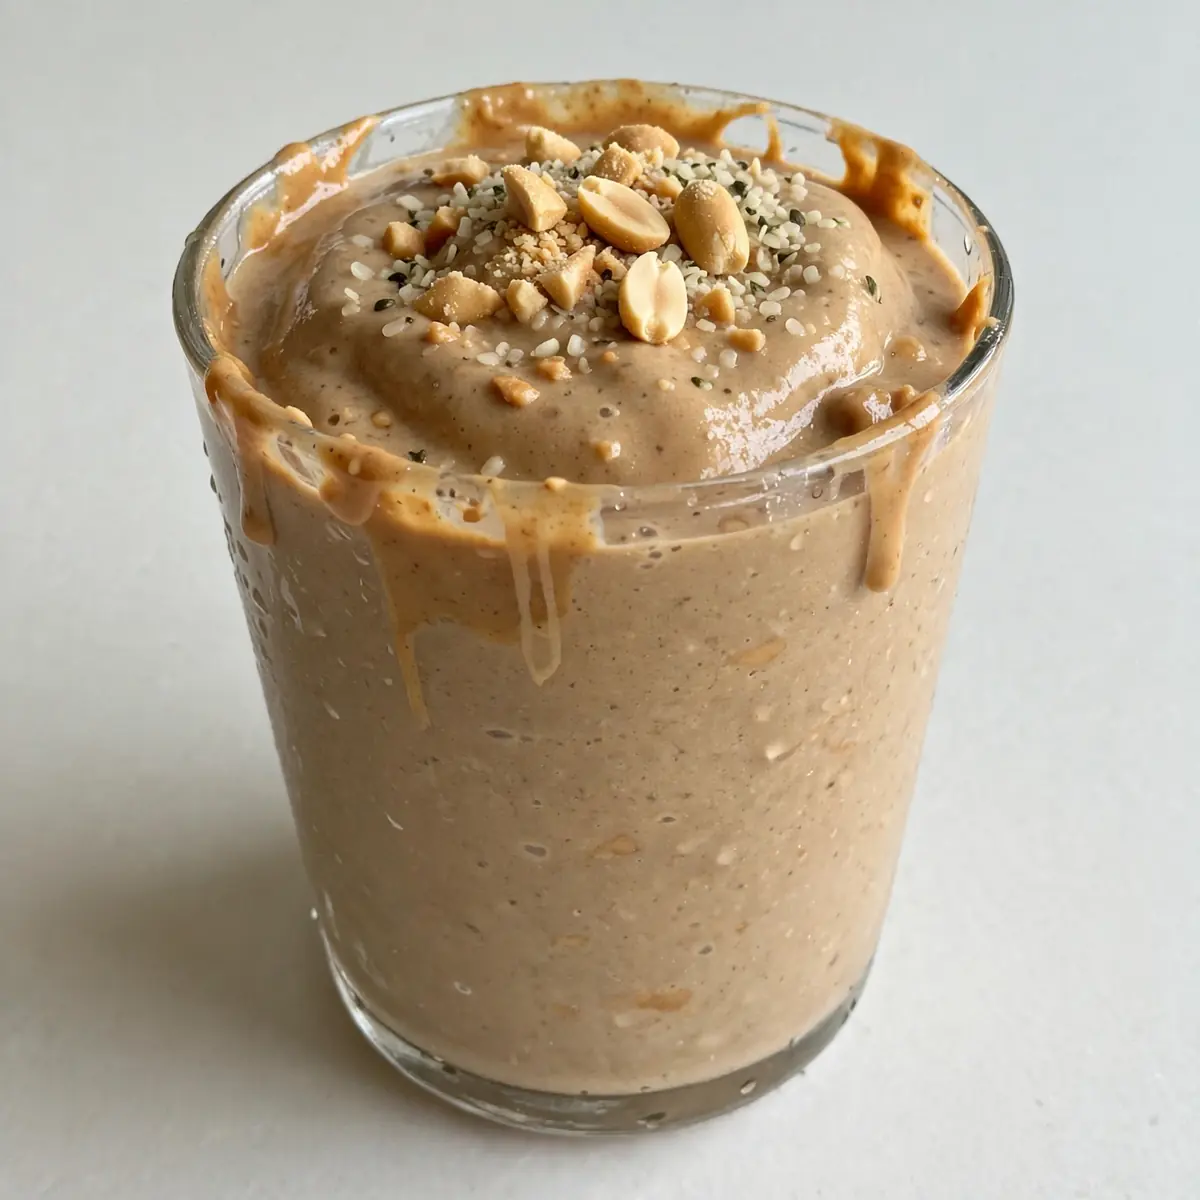
I’ve been making this Vegan High-Protein Peanut Butter Protein Smoothie for months now, and it’s genuinely revolutionised my mornings. What started as a desperate attempt to use up a bunch of overripe bananas has turned into a meal-prep staple that saves me time and money every single week.
Recipe Overview
- Prep time: 5 minutes
- Cook time: 0 minutes
- Total time: 5 minutes
- Servings: 4 (perfect for batch prep)
- Difficulty: Beginner-friendly
Why You’ll Love This Vegan High-Protein Peanut Butter Protein Smoothie
- Costs about £1.20 per serving — cheaper than any shop-bought protein shake, and you control exactly what goes in.
- Batch-cooks beautifully — make a jug on Sunday, portion it out, and grab one each morning for effortless breakfasts all week.
- Packs 28g of plant protein per serving — thanks to peanut butter, silken tofu, and a scoop of vegan protein powder, you’re genuinely full until lunch.
- Uses simple, everyday ingredients — nothing fancy or expensive, just stuff you probably already have in your cupboards and fridge.
- My husband, who’s usually picky, asked for seconds! — he couldn’t believe it was vegan and packed with protein, which says everything.
Ingredients You’ll Need
- 2 large ripe bananas (about 200g peeled weight)
- 500ml unsweetened almond milk (or any plant milk you prefer)
- 4 tablespoons smooth peanut butter (80g)
- 200g silken tofu (drained)
- 2 scoops vanilla vegan protein powder (about 60g)
- 2 tablespoons chia seeds (20g)
- 1 tablespoon maple syrup (optional, depending on sweetness preference)
- 1 teaspoon ground cinnamon
- Pinch of sea salt
- Ice cubes (about 8-10, or 100g frozen banana chunks if you have them)
Tip: For the smoothest texture, use silken tofu — the block stuff in the fridge section, not the firm tofu you’d stir-fry. It blends completely invisibly and adds a gorgeous creaminess without any beany taste.
How to Make Vegan High-Protein Peanut Butter Protein Smoothie
- Prep your bananas: Peel the bananas and break them into chunks. If you’re using fresh bananas, pop them in the freezer for 10 minutes while you gather the other bits — they’ll turn the smoothie thick and frosty without needing loads of ice. You’ll see the chunks go slightly opaque on the edges when they’re ready.
- Measure your liquids: Pour the almond milk into your blender jug first. This helps everything move around freely and stops the powder from sticking to the bottom. The milk should look pale and slightly creamy as it swirls around.
- Add the soft ingredients: Spoon in the peanut butter and silken tofu. The peanut butter should slide off the spoon in one satisfying blob, and the tofu will break apart easily — it should feel silky and almost custard-like to the touch.
- Add the dry ingredients: Scoop in the protein powder, chia seeds, cinnamon, and salt. You’ll see the powder cloud up slightly on the surface of the milk — that’s fine, the blender will sort it out. The cinnamon will smell warm and slightly sweet as it hits the liquid.
- Sweeten to taste: Drizzle in the maple syrup if you’re using it. Give the blender jug a quick swirl with a spoon to combine everything roughly — you’ll see streaks of syrup and peanut butter swirling through the milk like a marbled pattern.
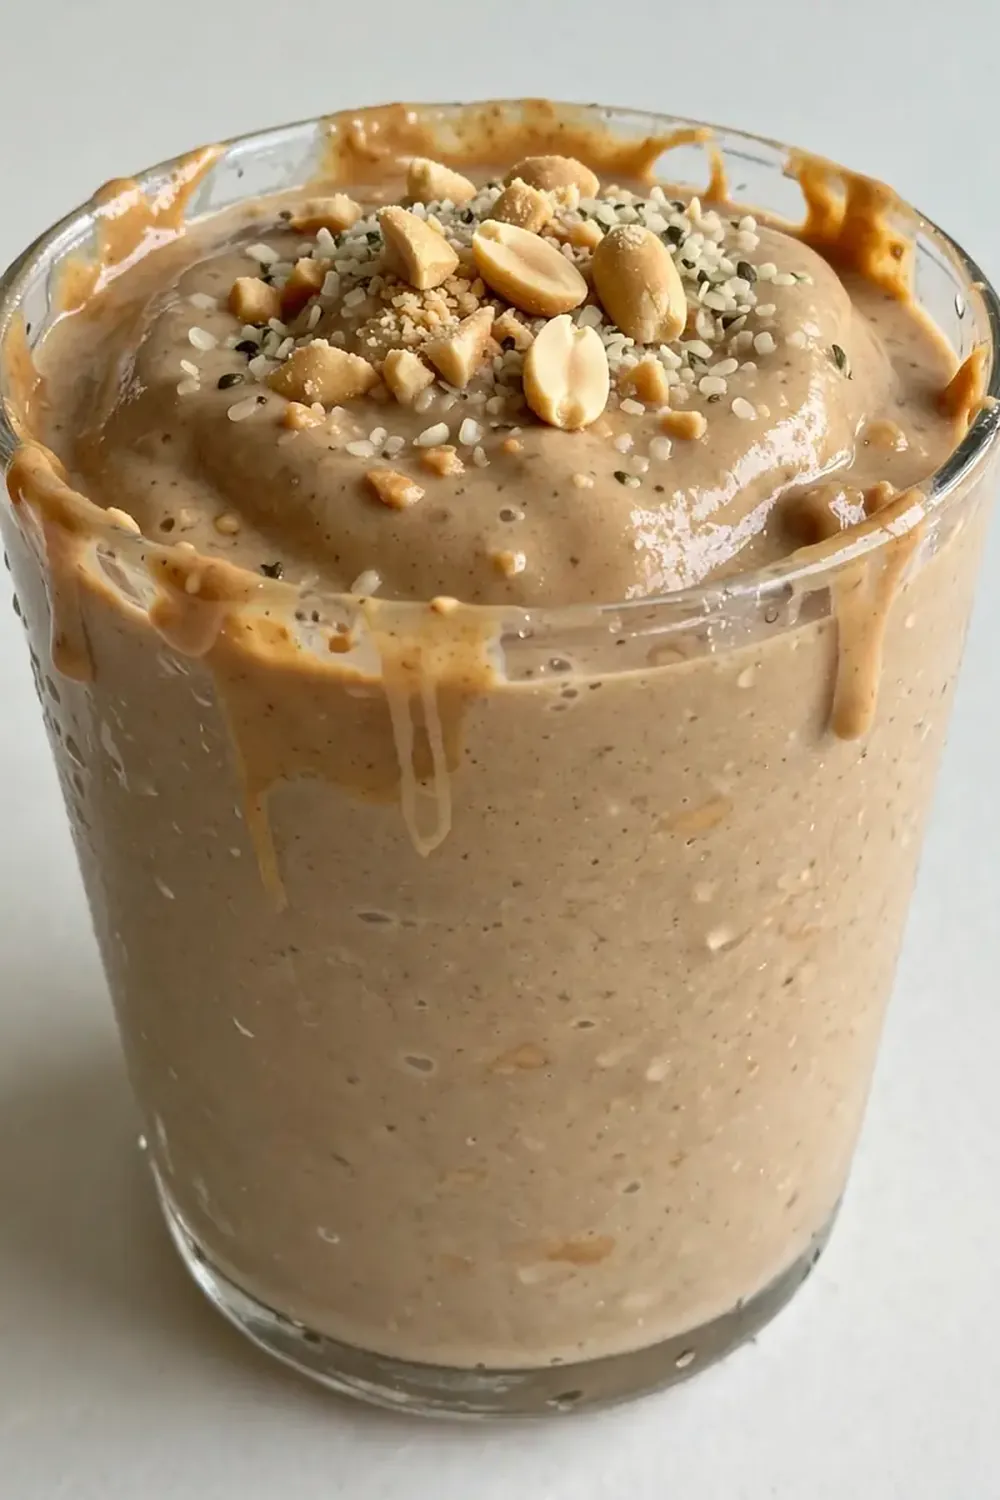
- Blend until smooth: Start on low speed for 10 seconds, then crank it up to high for a full 45-60 seconds. Listen for the sound to change from a chunky rattle to a smooth, consistent whir. When it’s done, the smoothie should look thick, pale beige, and completely uniform — no speckles of chia or tofu visible.
- Check the consistency: Stop the blender and lift the lid. The smoothie should slowly settle back into the jug, not splash everywhere. If it’s too thick, add another 50ml of milk and blitz for 10 seconds. If it’s too thin, add a handful of ice and blend again for 20 seconds.
- Taste and adjust: Dip a clean spoon in and taste it. You’re looking for a balanced sweetness from the banana and maple syrup, a nutty richness from the peanut butter, and a gentle warmth from the cinnamon. Add more maple syrup if you’d like it sweeter, or an extra pinch of salt if it needs balancing.
- Portion for meal prep: Pour the smoothie into four airtight jars or bottles, leaving about 2cm of space at the top for expansion if freezing. The smoothie should pour in a thick, steady stream — it’ll look almost like a milkshake as it fills the containers.
- Refrigerate or freeze: Seal the containers and pop them in the fridge for up to 4 days, or freeze for up to 3 months. If freezing, leave one jar out for tomorrow’s breakfast — it’ll be perfectly chilled and ready to drink by morning.
Tips From My Kitchen
- Freeze your bananas in advance: Whenever you see bananas going brown, peel them, chop them into chunks, and freeze them in a zip-lock bag. Frozen bananas make the smoothie thick and creamy without needing ice, which waters things down. I keep a bag in the freezer at all times — it’s a game-changer for texture.
- Use a high-speed blender if you have one: A decent blender makes all the difference with chia seeds and silken tofu. If your blender is a bit weaker, soak the chia seeds in the almond milk for 10 minutes before blending — they’ll soften up and blend much more smoothly, giving you that silky finish without any grittiness.
- Don’t skip the salt: A tiny pinch of sea salt might seem unnecessary, but it’s actually crucial. Salt enhances the peanut butter flavour and balances the sweetness from the banana and maple syrup. Without it, the smoothie can taste flat and one-dimensional — trust me on this one.
- Adjust the sweetness to your fruit: Riper bananas are sweeter than slightly green ones, so taste your banana before you blend. If it’s super ripe and spotty, you might not need any maple syrup at all. If it’s still a bit firm, add the full tablespoon. This is where your personal taste comes in, so adjust as you go.
- Make it a freezer-friendly grab-and-go: Pour individual portions into freezer-safe jars or even ice cube trays. In the morning, grab a jar, run it under warm water for 30 seconds to loosen the edges, then shake it vigorously or pop it in the microwave for 20 seconds. It thaws to a perfect slushy consistency — like a breakfast milkshake that’s ready in under a minute.
Equipment You’ll Need
- High-speed blender or food processor
- Sharp knife and cutting board for bananas
- Measuring cups and spoons
- 4 airtight glass jars or bottles for storage
- Long-handled spoon for stirring (optional)
Common Mistakes to Avoid
- Overcrowding the blender: If you try to double the batch without checking your blender’s capacity, you’ll end up with smoothie splattered across your kitchen. Always leave at least 5cm of space at the top of your blender jug. If you need to make more, blend in batches — it’s quicker than cleaning up a mess.
- Wrong temperature ingredients: Using fridge-cold almond milk with room-temperature bananas creates a lukewarm smoothie that nobody wants at 7am. Pop your bananas in the freezer for 10 minutes beforehand, or use frozen banana chunks. The goal is a thick, frosty texture — not a sad, watery one.
- Skipping the taste test: I’ve made this smoothie hundreds of times, and I still taste it before portioning. Bananas vary in sweetness, peanut butters vary in saltiness, and protein powders vary in flavour intensity. A quick taste adjustment now saves you from drinking something disappointing later.
Delicious Variations to Try
- Chocolate Peanut Butter Version: Swap the vanilla protein powder for chocolate flavour, and add 1 tablespoon of cocoa powder. The chocolate and peanut butter combination is absolutely irresistible — my husband actually prefers this version. It tastes like dessert but fuels your morning properly.
- Green Protein Smoothie: Add a large handful of fresh spinach (about 40g) to the blender with the other ingredients. Don’t worry, you won’t taste it at all — the banana and peanut butter completely mask the spinach flavour. You’ll just get a gorgeous, vibrant green colour and an extra hit of iron and vitamins.
- Berry Peanut Butter Twist: Swap one banana for 100g of frozen mixed berries (strawberries, blueberries, raspberries). The berries add a tartness that cuts through the richness of the peanut butter beautifully. The colour turns a stunning purple-pink, and you get a completely different flavour profile from the same base recipe.
- Extra Protein Boost: Add 2 tablespoons of hemp seeds or pumpkin seeds alongside the chia seeds. Both are complete plant proteins and add a subtle nutty flavour that complements the peanut butter. This pushes the protein content up to around 35g per serving — ideal for post-workout recovery.
- Spiced Chai Smoothie: Replace the cinnamon with 1 teaspoon of chai spice blend (cinnamon, cardamom, ginger, cloves, nutmeg). The warm spices pair beautifully with the peanut butter and banana, and it makes the smoothie smell absolutely incredible — like a cosy autumn morning in a glass.
What to Serve With Vegan High-Protein Peanut Butter Protein Smoothie
- A slice of wholemeal toast with mashed avocado and a sprinkle of chilli flakes for a savoury balance
- A handful of mixed nuts and seeds for extra crunch and healthy fats
- A bowl of overnight oats topped with fresh fruit — the smoothie works as the liquid base if you blend it slightly thinner
- A simple side of Cottage Cheese Ranch Dip With Veggies if you’re prepping a full day of meals and want something savoury to contrast the sweet smoothie
- Absolutely nothing — this smoothie is substantial enough to be a complete breakfast on its own, especially with the chia seeds and protein powder
Frequently Asked Questions
Vegan High-Protein Peanut Butter Protein Smoothie
Ingredients
Method
- Prep your bananas: Peel the bananas and break them into chunks. If you're using fresh bananas, pop them in the freezer for 10 minutes while you gather the other bits — they'll turn the smoothie thick and frosty without needing loads of ice. You'll see the chunks go slightly opaque on the edges when they're ready.
- Measure your liquids: Pour the almond milk into your blender jug first. This helps everything move around freely and stops the powder from sticking to the bottom. The milk should look pale and slightly creamy as it swirls around.
- Add the soft ingredients: Spoon in the peanut butter and silken tofu. The peanut butter should slide off the spoon in one satisfying blob, and the tofu will break apart easily — it should feel silky and almost custard-like to the touch.
- Add the dry ingredients: Scoop in the protein powder, chia seeds, cinnamon, and salt. You'll see the powder cloud up slightly on the surface of the milk — that's fine, the blender will sort it out. The cinnamon will smell warm and slightly sweet as it hits the liquid.
- Sweeten to taste: Drizzle in the maple syrup if you're using it. Give the blender jug a quick swirl with a spoon to combine everything roughly — you'll see streaks of syrup and peanut butter swirling through the milk like a marbled pattern.
- Blend until smooth: Start on low speed for 10 seconds, then crank it up to high for a full 45-60 seconds. Listen for the sound to change from a chunky rattle to a smooth, consistent whir. When it's done, the smoothie should look thick, pale beige, and completely uniform — no speckles of chia or tofu visible.
- Check the consistency: Stop the blender and lift the lid. The smoothie should slowly settle back into the jug, not splash everywhere. If it's too thick, add another 50ml of milk and blitz for 10 seconds. If it's too thin, add a handful of ice and blend again for 20 seconds.
- Taste and adjust: Dip a clean spoon in and taste it. You're looking for a balanced sweetness from the banana and maple syrup, a nutty richness from the peanut butter, and a gentle warmth from the cinnamon. Add more maple syrup if you'd like it sweeter, or an extra pinch of salt if it needs balancing.
- Portion for meal prep: Pour the smoothie into four airtight jars or bottles, leaving about 2cm of space at the top for expansion if freezing. The smoothie should pour in a thick, steady stream — it'll look almost like a milkshake as it fills the containers.
- Refrigerate or freeze: Seal the containers and pop them in the fridge for up to 4 days, or freeze for up to 3 months. If freezing, leave one jar out for tomorrow's breakfast — it'll be perfectly chilled and ready to drink by morning.
Notes
I honestly make this Vegan High-Protein Peanut Butter Protein Smoothie at least once a week — it’s become a family favourite that saves me money, time, and the stress of figuring out breakfast on busy mornings. The best part is that it genuinely feels like a treat, not a chore, which is exactly what a meal-prep recipe should do. I’d love to hear how it works for you — drop a comment below and let me know if you tried any of the variations, or if you’ve come up with your own twist. Happy blending!