No Bake Protein Energy Balls
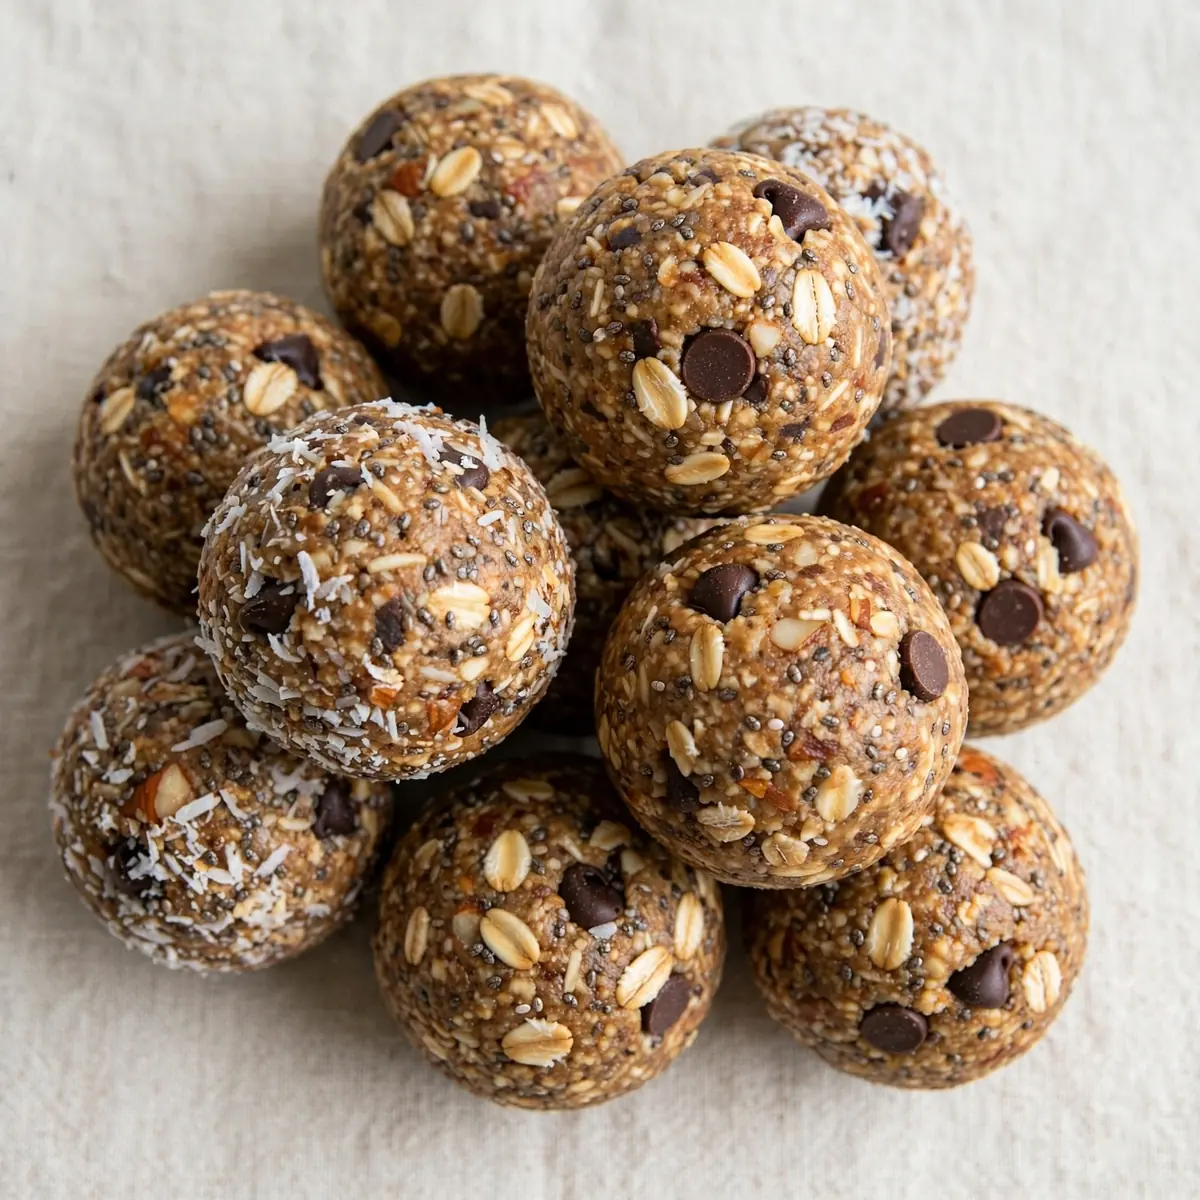
When the clock strikes six and the kids are asking what’s for tea before you’ve even hung your coat up, you need a dinner solution that works faster than the takeaway app. These no bake protein energy balls aren’t just a snack — they’re the backbone of a quick weeknight dinner strategy that saves my family every single Tuesday.
Recipe Overview
- Prep time: 15 minutes
- Cook time: 0 minutes
- Total time: 15 minutes (plus 30 minutes chilling)
- Servings: Makes 20-24 balls
- Difficulty: Easy
Why You’ll Love This No Bake Protein Energy Balls
- Ready in under 20 minutes: From pulling out the bowl to rolling the last ball, you’re done before the kettle boils. No oven, no stove, no waiting for anything to heat up.
- One bowl cleanup: Everything comes together in a single mixing bowl. My husband, who’s usually picky about washing up, actually smiled when he saw the sink after I made these.
- Meal prep superstar: Make a batch on Sunday, and you’ve got grab-and-go breakfasts, after-school snacks, or a quick protein hit before evening activities all week long.
- No special equipment needed: You don’t need a food processor, blender, or any fancy gadget. Just your hands, a bowl, and a spoon — that’s it.
- Endlessly adaptable: Swap the nut butter, change the dried fruit, add seeds or chocolate chips. After testing this recipe five times, I finally got it just right, and now I tweak it depending on what’s in the cupboard.
Ingredients You’ll Need
- 200g rolled oats
- 120g smooth peanut butter (or any nut or seed butter)
- 80ml honey or maple syrup
- 60g vanilla or unflavoured protein powder
- 50g ground flaxseed
- 50g dark chocolate chips (optional)
- 40g dried cranberries or chopped apricots
- 30g chia seeds
- 1 teaspoon vanilla extract
- Pinch of sea salt
- 1-2 tablespoons water, if needed to bring mixture together
Tip: Use a protein powder that you enjoy the taste of, as it forms the flavour backbone here. If your protein powder is sweetened, you can reduce the honey slightly.
How to Make No Bake Protein Energy Balls
- Combine the dry ingredients: In a large mixing bowl, add the rolled oats, protein powder, ground flaxseed, chia seeds, and the pinch of salt. Stir them together with a wooden spoon until everything looks evenly distributed and you can see the dark specks of chia seeds throughout the pale oat mixture.
- Add the wet ingredients: Pour in the peanut butter, honey or maple syrup, and vanilla extract. The peanut butter should be at room temperature so it stirs in easily — if it’s cold from the fridge, give it a quick stir first until it loosens up.
- Mix thoroughly: Using a sturdy spoon or spatula, fold the wet ingredients into the dry. The mixture will look crumbly at first, then slowly come together into a cohesive dough. You should feel the oats softening slightly as the moisture from the peanut butter and honey works through them.
- Add your mix-ins: Fold through the chocolate chips and dried cranberries (or whichever dried fruit you chose). The dough should feel tacky but not wet — when you press a small amount between your fingers, it should hold together without crumbling apart.
- Check the consistency: If the mixture feels too dry and won’t hold together, add water one tablespoon at a time. You’re looking for a texture similar to soft cookie dough — it should be slightly sticky but not sloppy. The oats will have absorbed some moisture and the whole bowl will smell warmly of peanut butter and vanilla.
- Chill the mixture: Cover the bowl with cling film or a tea towel and pop it in the fridge for 20-30 minutes. This step is crucial — the chilled mixture becomes much easier to roll, and the balls will hold their shape beautifully. You’ll notice the dough firms up and feels less sticky to the touch.
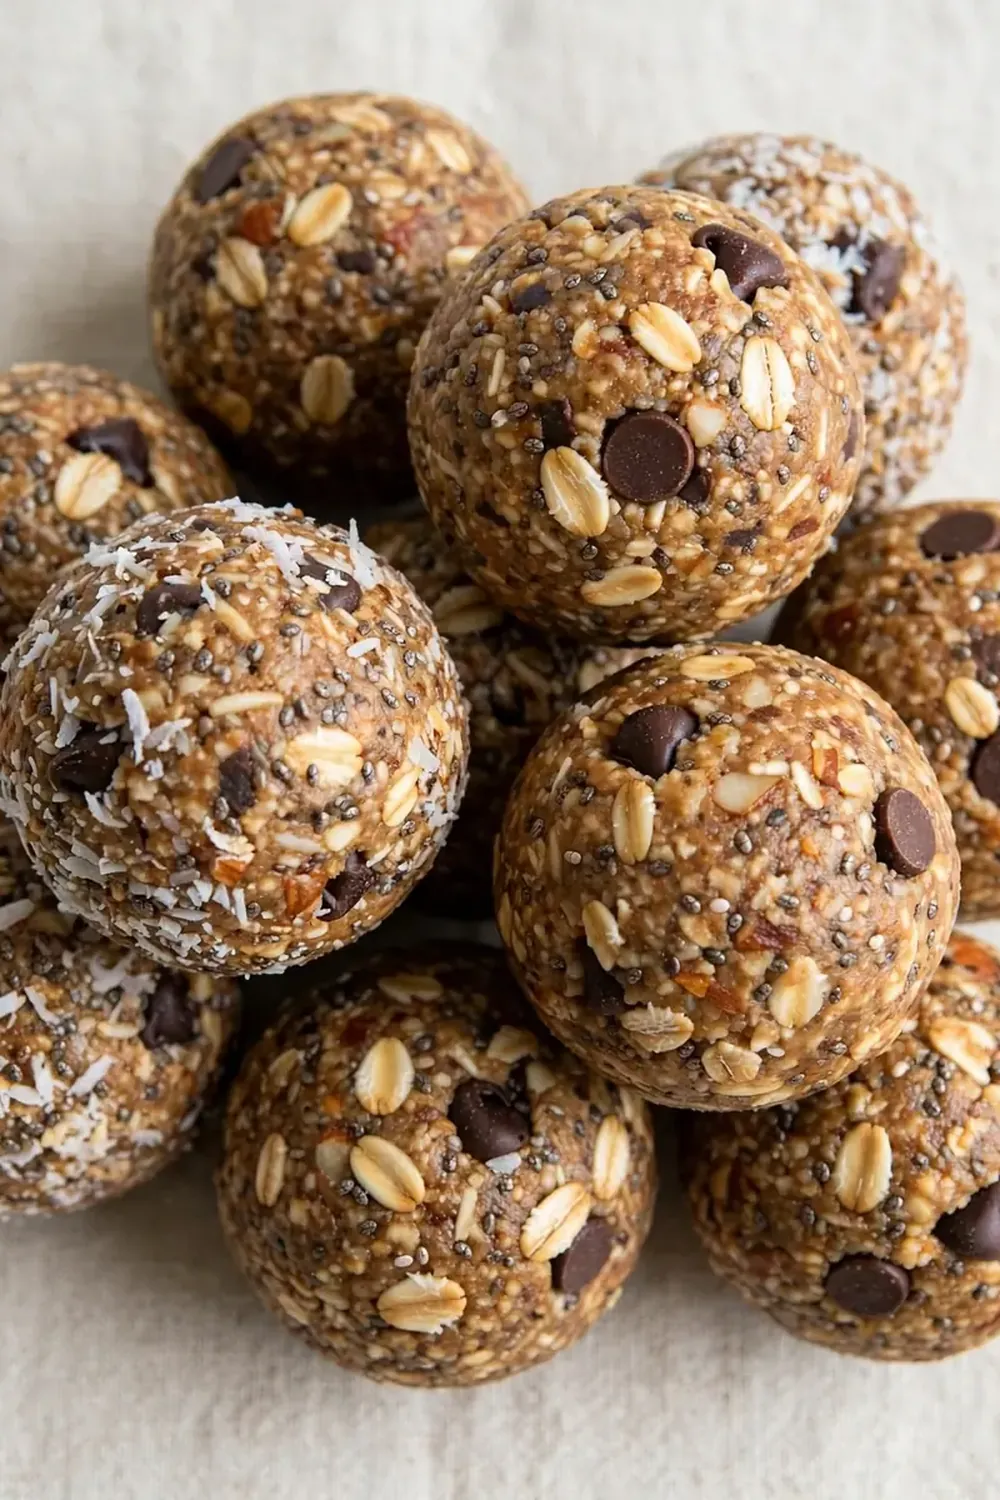
- Roll into balls: Scoop out roughly one tablespoon of the chilled mixture and roll it between your palms. Use gentle pressure — you want a smooth, round ball about the size of a walnut. The surface should feel slightly cool and smooth, with the oats and seeds creating a lovely textured appearance.
- Arrange and store: Place the finished balls on a baking tray lined with parchment paper. As you work, you’ll see them sitting in neat rows, each one a little different from the last. Once all the mixture is used up, transfer the tray to the fridge for another 10 minutes to set fully before storing.
Tips From My Kitchen
- Use room temperature nut butter: Cold peanut butter straight from the fridge is like trying to mix concrete with a spatula. It won’t incorporate evenly, leaving you with patches of dry oats and oily streaks. Let it sit out for 15 minutes, or warm it gently in a bowl of hot water for a few minutes.
- Don’t skip the chilling step: I know you’re in a hurry — that’s the whole point of this recipe. But rolling warm mixture is a sticky, frustrating mess. The 20-minute chill firms up the fats in the peanut butter and lets the oats absorb the liquid, transforming a sticky blob into a manageable dough. Use that time to clear the counters or set the kids up with a quick activity.
- Roll with slightly damp hands: If the mixture still sticks to your palms after chilling, lightly wet your hands with cold water. The thin layer of water creates a barrier between your skin and the sticky dough, allowing you to roll perfectly smooth balls without extra mess. Shake off excess water first — you don’t want soggy energy balls.
- Scale the recipe effortlessly: This recipe doubles beautifully for busy weeks or halves cleanly if you just want a small batch. Keep the ratios the same — two parts oats to one part nut butter and one part sweetener — and you can adjust the protein powder and add-ins to match whatever you have on hand.
- Store them properly: These balls keep in an airtight container in the fridge for up to two weeks, but they’ll never last that long in my house. For longer storage, freeze them in a single layer on a baking tray, then transfer to a freezer bag. They thaw in about 10 minutes at room temperature, perfect for grabbing on the way out the door.
Equipment You’ll Need
- Large mixing bowl
- Wooden spoon or sturdy spatula
- Measuring cups and spoons
- Baking tray lined with parchment paper
- Airtight container for storage
Common Mistakes to Avoid
- Using the wrong protein powder: Plant-based protein powders can be much more absorbent than whey-based ones, sucking up all the moisture and leaving you with a dry, crumbly mess. If you use a plant-based powder, add an extra tablespoon of honey or a splash of milk to compensate. The mixture should feel tacky, not sandy.
- Skipping the salt: A pinch of salt might seem optional, but it makes a massive difference to the final flavour. Salt doesn’t just make things salty — it sharpens the sweetness of the honey, deepens the nuttiness of the peanut butter, and brings all the flavours into focus. Without it, the balls taste flat and one-dimensional.
- Overmixing the dough: Once the ingredients are combined, stop stirring. Overworking the mixture can break down the oats too much, turning your energy balls into a dense, paste-like texture instead of the pleasantly chewy, textured balls you’re after. Mix just until no dry patches remain, then fold through your add-ins gently.
What to Serve With No Bake Protein Energy Balls
- A glass of cold milk or a dairy-free alternative for dunking
- Fresh apple slices or pear wedges for extra crunch and fibre
- A handful of mixed nuts for sustained energy throughout the evening
- A cup of herbal tea or a small latte for a cosy treat
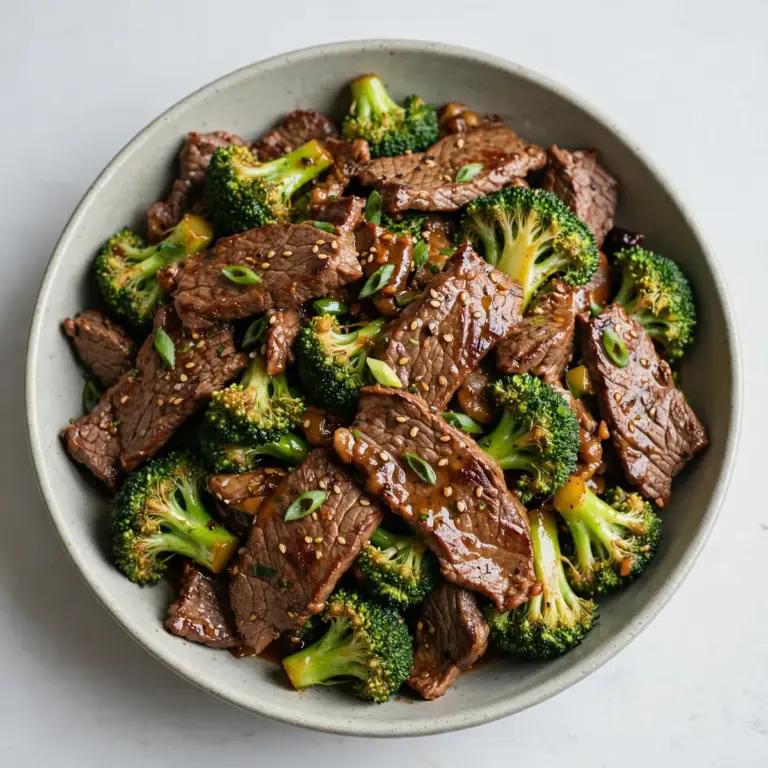
- For a more substantial meal, pair with a High Protein Beef And Veggie Stir Fry Meal Prep — the savoury stir-fry balances the sweetness of the energy balls beautifully
Frequently Asked Questions
no bake protein energy balls
Ingredients
Method
-
Combine the dry ingredients: In a large mixing bowl, add the rolled oats, protein powder, ground flaxseed, chia seeds, and the pinch of salt. Stir them together with a wooden spoon until everything looks evenly distributed and you can see the dark specks of chia seeds throughout the pale oat mixture.
-
Add the wet ingredients: Pour in the peanut butter, honey or maple syrup, and vanilla extract. The peanut butter should be at room temperature so it stirs in easily — if it’s cold from the fridge, give it a quick stir first until it loosens up.
-
Mix thoroughly: Using a sturdy spoon or spatula, fold the wet ingredients into the dry. The mixture will look crumbly at first, then slowly come together into a cohesive dough. You should feel the oats softening slightly as the moisture from the peanut butter and honey works through them.
-
Add your mix-ins: Fold through the chocolate chips and dried cranberries (or whichever dried fruit you chose). The dough should feel tacky but not wet — when you press a small amount between your fingers, it should hold together without crumbling apart.
-
Check the consistency: If the mixture feels too dry and won’t hold together, add water one tablespoon at a time. You’re looking for a texture similar to soft cookie dough — it should be slightly sticky but not sloppy. The oats will have absorbed some moisture and the whole bowl will smell warmly of peanut butter and vanilla.
-
Chill the mixture: Cover the bowl with cling film or a tea towel and pop it in the fridge for 20-30 minutes. This step is crucial — the chilled mixture becomes much easier to roll, and the balls will hold their shape beautifully. You’ll notice the dough firms up and feels less sticky to the touch.
-
Roll into balls: Scoop out roughly one tablespoon of the chilled mixture and roll it between your palms. Use gentle pressure — you want a smooth, round ball about the size of a walnut. The surface should feel slightly cool and smooth, with the oats and seeds creating a lovely textured appearance.
-
Arrange and store: Place the finished balls on a baking tray lined with parchment paper. As you work, you’ll see them sitting in neat rows, each one a little different from the last. Once all the mixture is used up, transfer the tray to the fridge for another 10 minutes to set fully before storing.
Notes
I’d love to hear how these no bake protein energy balls work into your own weeknight dinner routine. Drop a comment below and let me know which flavour combinations your family loved most — and if you’ve got a busy Tuesday night hack of your own, share it with us all.