Ingredients
Method
- Blend the base: In a high-speed blender, combine the bananas, almond milk, Greek yoghurt, protein powder, peanut butter, honey (if using), vanilla extract, and salt. Blend on high for 45–60 seconds. You're looking for a completely smooth, velvety liquid with no visible chunks of banana or streaks of protein powder. The mixture should smell fragrantly of peanut butter and vanilla, with a thick, pourable consistency similar to a milkshake.
- Taste and adjust: Pause here. Dip a clean spoon into the mixture and taste it. It should be pleasantly sweet and creamy. If it tastes too 'protein-y' or artificial, add another tablespoon of peanut butter or a splash more milk. This is your final chance to balance the flavour before freezing.
- Fold in add-ins: If you're using chocolate chips or cacao nibs, pour the blended mixture into a large jug and gently fold them in with a spatula. You want them evenly distributed, not clumped at the bottom. The sound of the spatula scraping against the jug will tell you the mixture is ready.
- Fill the moulds: Carefully pour the mixture into your popsicle moulds, leaving about 1cm of space at the top for expansion. Tap the mould gently on the counter a few times to release any air bubbles. You'll see small bubbles rise to the surface and pop, which ensures a dense, creamy final texture rather than an icy one.
- Insert sticks and freeze: Place the popsicle sticks into the centre of each mould. If your mould has a lid, secure it. Place the moulds on a flat surface in the freezer. Freeze for at least 4–6 hours, but overnight is best. The popsicles should be rock-solid to the touch; if they feel soft or bendable, they need more time.
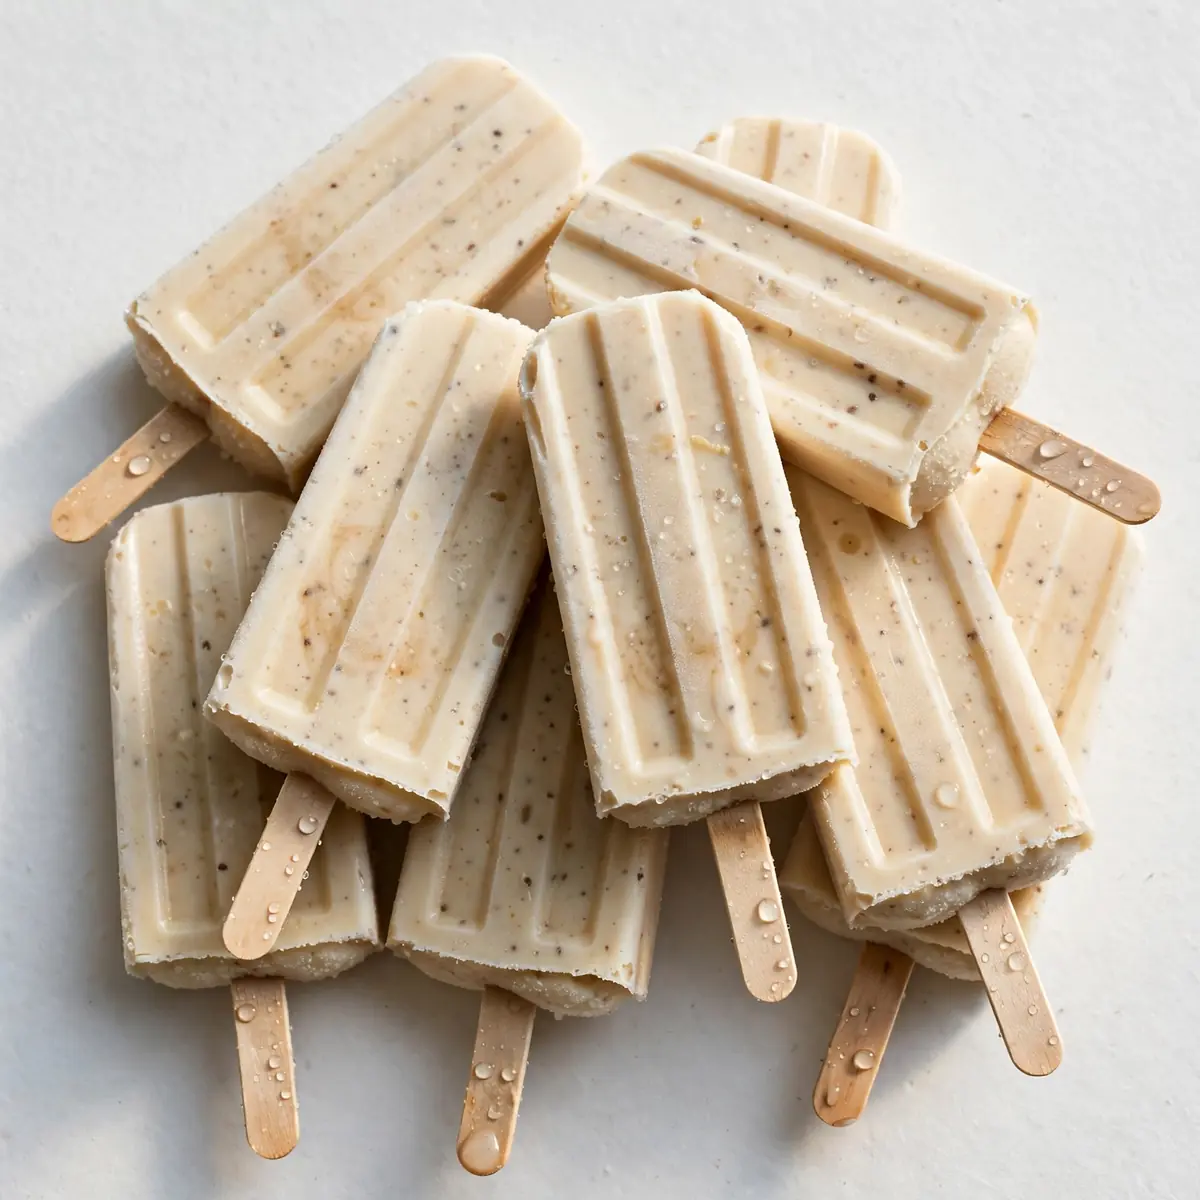
- Unmould and serve: When ready to enjoy, run the mould under warm (not hot) water for 10–15 seconds. Gently wiggle the stick; the popsicle should slide out with a slight pop. The surface will be smooth and glossy, with a creamy, pale beige colour flecked with dark chocolate chips if you added them.
Notes
Freeze time is minimum 4 hours, ideally overnight. Nutrition values are estimates and may vary based on specific ingredients and optional add-ins.