Ingredients
Method
- Mash the bananas: In a large mixing bowl, mash your ripe bananas with a fork until they form a smooth, almost liquid paste with no large lumps. You’ll know it’s ready when the colour is a uniform pale yellow and the smell is intensely sweet.
- Combine the wet ingredients: Add the peanut butter, honey or maple syrup, vanilla extract, and milk (if using) to the mashed bananas. Stir vigorously with a wooden spoon until the mixture is glossy, thick, and smells richly of roasted peanuts. The texture should be like a thick, sticky batter.
- Mix the dry ingredients: In a separate smaller bowl, whisk together the rolled oats, protein powder, chia seeds, ground flaxseed, and sea salt. Listen for the soft rustle of the oats and the powdery sound of the protein shifting. Make sure there are no clumps of protein powder.
- Combine wet and dry: Pour the dry ingredients into the wet mixture. Fold together with a spatula or wooden spoon until you see no more streaks of white powder. The dough will feel dense, slightly sticky, and will hold together when pressed between your fingers. If it’s too dry and crumbly, add milk one teaspoon at a time until it clumps.
- Fold in the chocolate chips: Gently stir in the dark chocolate chips (if using). You’ll see them dotting the dough like little dark jewels. The dough should now be uniform and slightly tacky to the touch.
- Chill the dough: Cover the bowl with cling film and place it in the refrigerator for 20 minutes. This step is crucial—the chilled dough will be much easier to roll without it sticking to your hands. You’ll feel the difference when you touch it; it will feel firmer and less sticky.
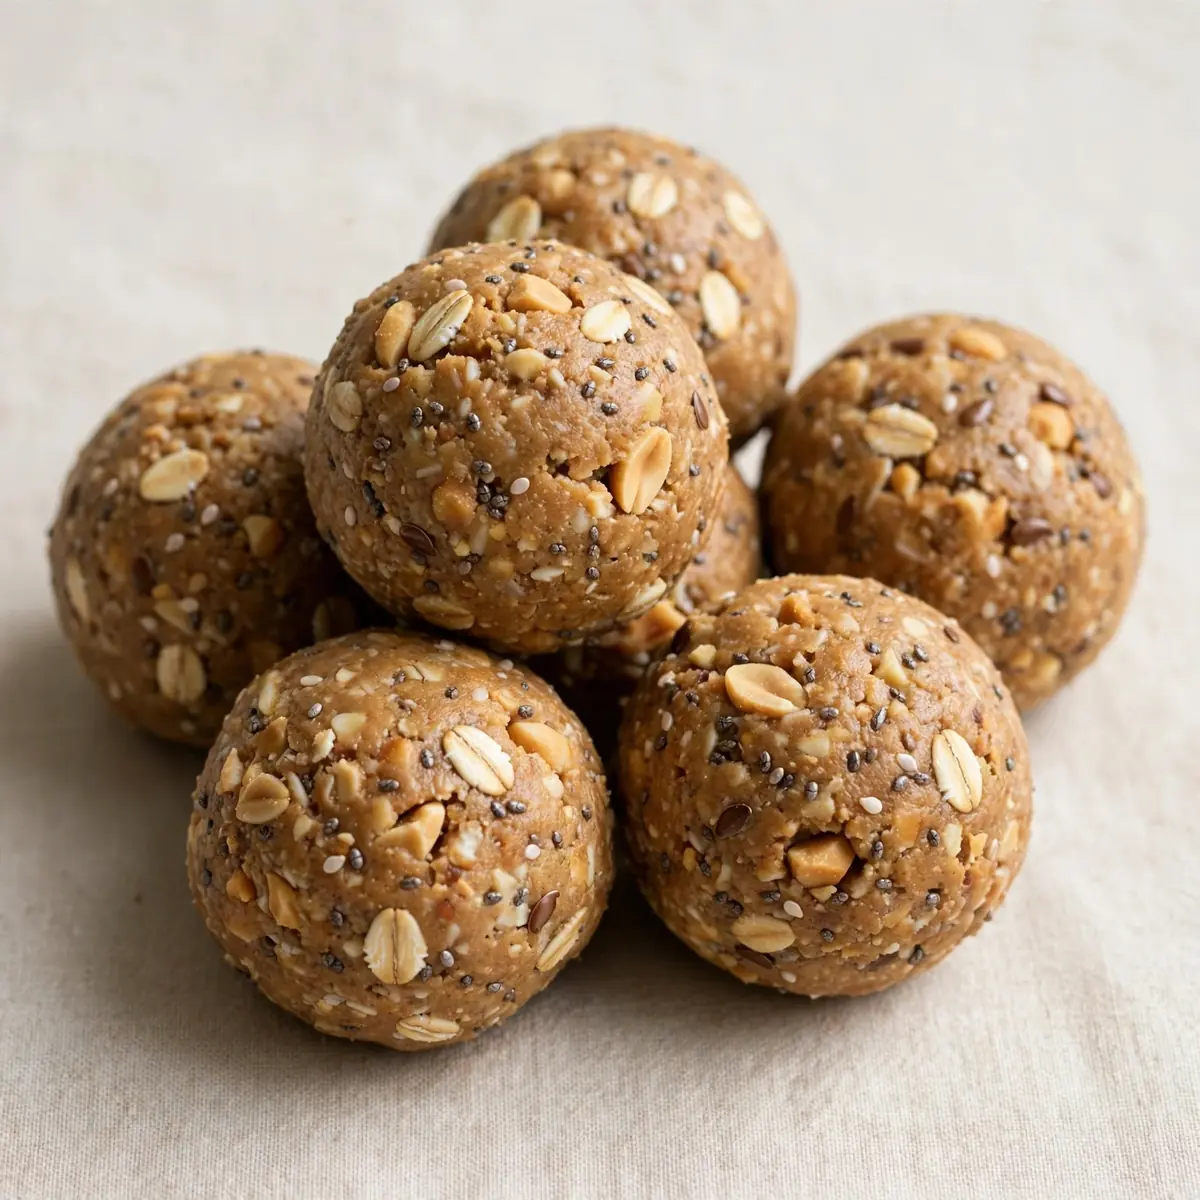
- Roll into balls: Line a baking tray or large plate with baking parchment. Using slightly damp hands (to prevent sticking), scoop out about one tablespoon of dough and roll it between your palms to form a smooth ball. Place each ball on the lined tray. You should have about 18 balls, each about the size of a walnut. The surface should be smooth and slightly shiny from the peanut butter.
- Final chill: Place the tray of balls in the refrigerator for at least 30 minutes to firm up. Once set, they will feel firm but give slightly when squeezed. Transfer to an airtight container for storage.
Notes
Makes about 18 balls. Store in an airtight container in the refrigerator for up to a week, or freeze for up to 3 months. Add milk sparingly if dough is too dry.