No-Bake Peanut Butter Protein Balls
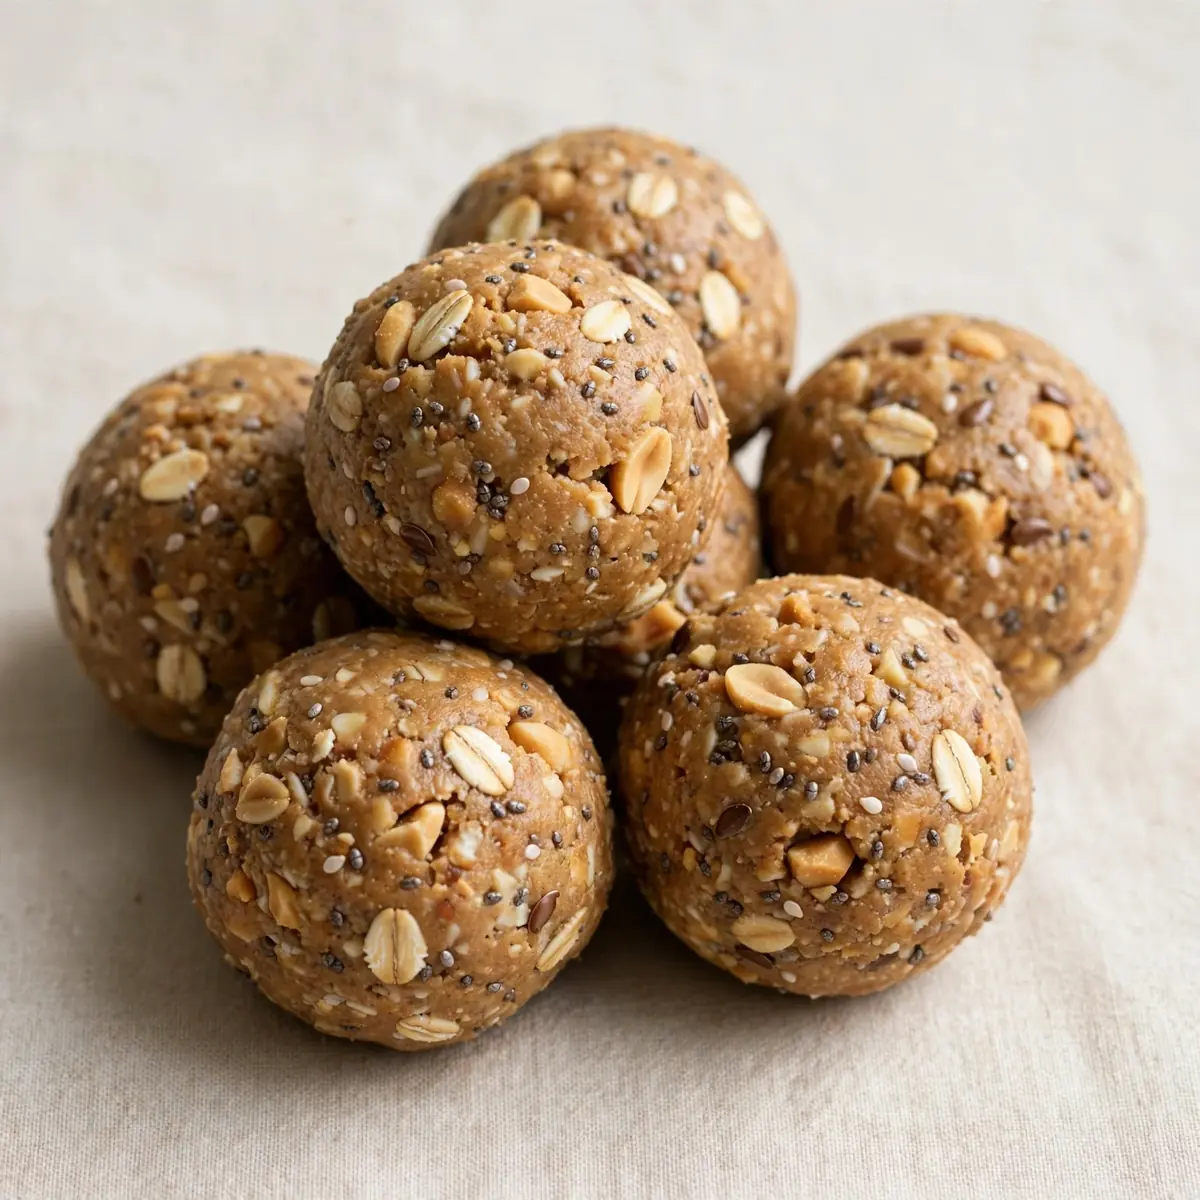
Let me tell you about the week I decided to get my finances—and my diet—in order. I sat down with a notebook, calculated what I was spending on grab-and-go protein bars from the corner shop, and nearly choked on my tea. £3.50 a pop, sometimes twice a day. That’s nearly fifty quid a week for what amounts to processed dates and a bit of powder. I knew I could do better. So I went back to basics, raided my cupboards, and started experimenting. These no-bake peanut butter protein balls were born from that thrifty kitchen session, and they’ve been a staple in my fridge ever since.
Recipe Overview
- Prep Time: 15 minutes
- Cook Time: 0 minutes (no-bake!)
- Total Time: 30 minutes (including chill time)
- Servings: 18 balls
- Difficulty: Easy
Why You’ll Love This No-Bake Peanut Butter Protein Balls
- Budget-friendly batch cooking: Each ball costs roughly 35p to make, compared to shop-bought versions that can run £2 or more. You can whip up a week’s worth of snacks for the price of a single fancy coffee.
- Meal-prep dream: These balls store beautifully in the fridge for up to two weeks or in the freezer for three months. Grab one on your way out the door, and you’ve got a balanced snack ready to go.
- No oven required: On a hot summer day or when you simply can’t face turning on the oven, this recipe comes together in one bowl with a wooden spoon. No baking sheets, no timers, no fuss.
- Customisable protein source: You can use whey, plant-based, or even collagen peptides—whatever you have on hand. The texture adjusts slightly, but the method stays the same. This is my go-to recipe when I need something quick but impressive for my weekly prep.
- Naturally sweetened: Ripe bananas and a touch of honey or maple syrup provide all the sweetness you need, without the refined sugar crash. Friends always ask me for this recipe after trying it at dinner parties, and they’re shocked when I tell them there’s no added sugar.
Ingredients You’ll Need
- 200g rolled oats (not instant)
- 120g smooth peanut butter (no added sugar or oil)
- 60g vanilla or unflavoured protein powder (whey or plant-based)
- 2 ripe bananas, mashed (about 200g)
- 3 tablespoons honey or maple syrup
- 2 tablespoons chia seeds
- 1 tablespoon ground flaxseed
- 1 teaspoon vanilla extract
- ½ teaspoon sea salt
- 60g dark chocolate chips (optional, but highly recommended)
- 2 tablespoons milk (dairy or plant-based), if needed for consistency
Tip: For the best texture, use a protein powder you actually enjoy the taste of. A low-quality powder can make the balls taste chalky, even with the peanut butter. I’ve learned that lesson the hard way.
How to Make No-Bake Peanut Butter Protein Balls
- Mash the bananas: In a large mixing bowl, mash your ripe bananas with a fork until they form a smooth, almost liquid paste with no large lumps. You’ll know it’s ready when the colour is a uniform pale yellow and the smell is intensely sweet.
- Combine the wet ingredients: Add the peanut butter, honey or maple syrup, vanilla extract, and milk (if using) to the mashed bananas. Stir vigorously with a wooden spoon until the mixture is glossy, thick, and smells richly of roasted peanuts. The texture should be like a thick, sticky batter.
- Mix the dry ingredients: In a separate smaller bowl, whisk together the rolled oats, protein powder, chia seeds, ground flaxseed, and sea salt. Listen for the soft rustle of the oats and the powdery sound of the protein shifting. Make sure there are no clumps of protein powder.
- Combine wet and dry: Pour the dry ingredients into the wet mixture. Fold together with a spatula or wooden spoon until you see no more streaks of white powder. The dough will feel dense, slightly sticky, and will hold together when pressed between your fingers. If it’s too dry and crumbly, add milk one teaspoon at a time until it clumps.
- Fold in the chocolate chips: Gently stir in the dark chocolate chips (if using). You’ll see them dotting the dough like little dark jewels. The dough should now be uniform and slightly tacky to the touch.
- Chill the dough: Cover the bowl with cling film and place it in the refrigerator for 20 minutes. This step is crucial—the chilled dough will be much easier to roll without it sticking to your hands. You’ll feel the difference when you touch it; it will feel firmer and less sticky.
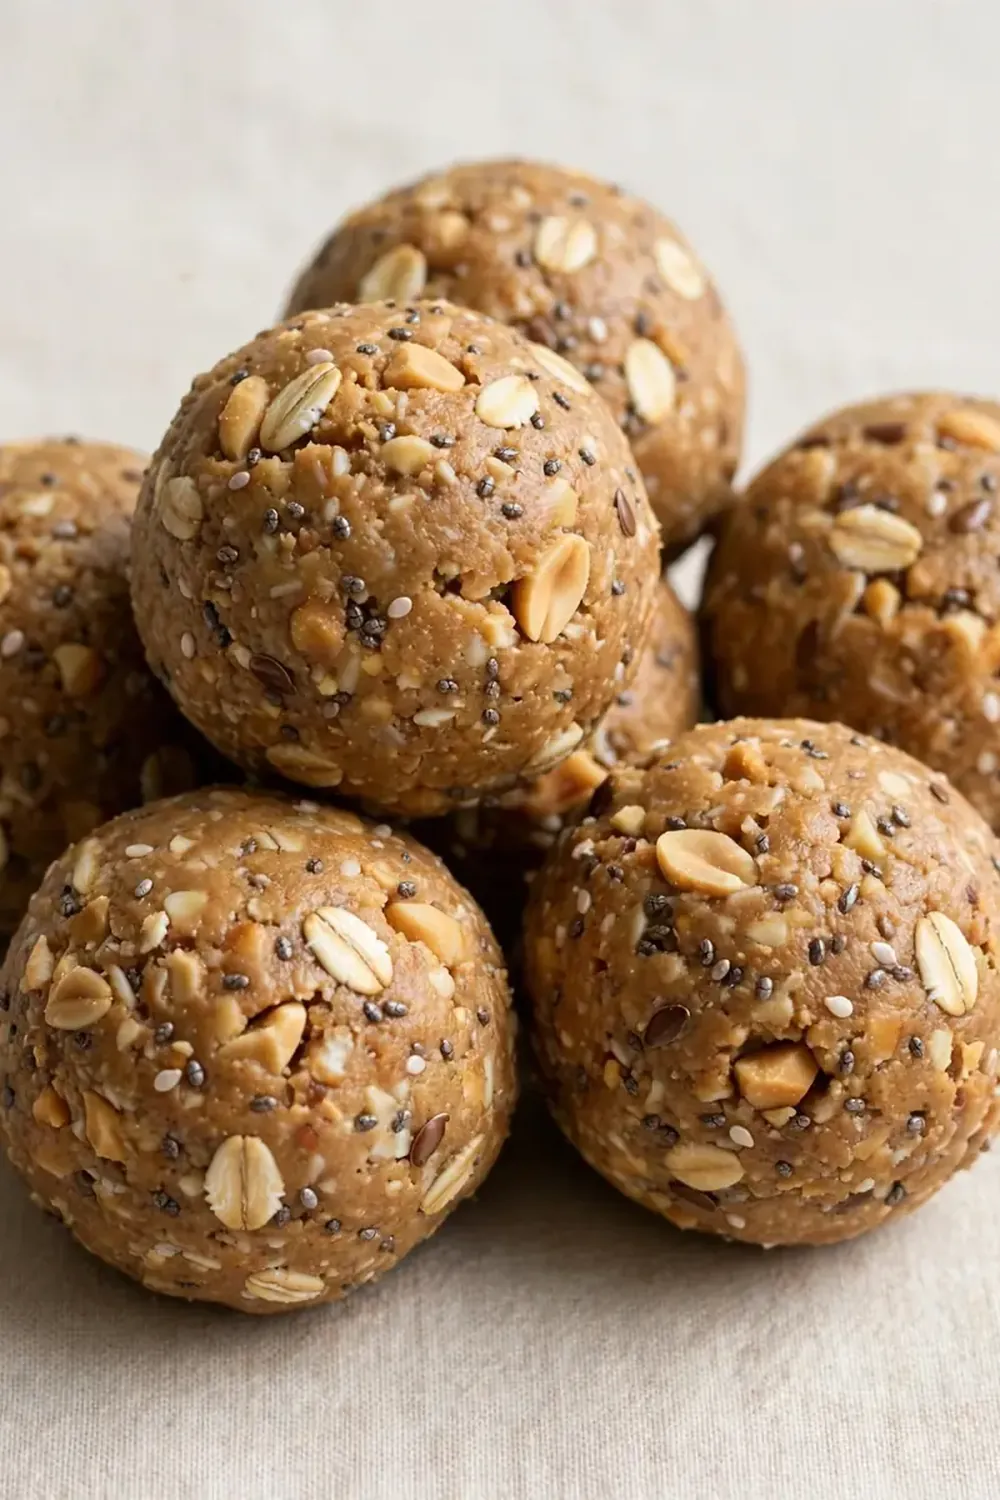
- Roll into balls: Line a baking tray or large plate with baking parchment. Using slightly damp hands (to prevent sticking), scoop out about one tablespoon of dough and roll it between your palms to form a smooth ball. Place each ball on the lined tray. You should have about 18 balls, each about the size of a walnut. The surface should be smooth and slightly shiny from the peanut butter.
- Final chill: Place the tray of balls in the refrigerator for at least 30 minutes to firm up. Once set, they will feel firm but give slightly when squeezed. Transfer to an airtight container for storage.
Tips From My Kitchen
- Use room-temperature peanut butter: If your peanut butter has been sitting in the fridge, it will be too stiff to mix evenly. Let it sit on the counter for 20 minutes before starting. The difference is night and day—cold peanut butter creates a lumpy dough that’s hard to roll.
- Don’t skip the chill step: I know it’s tempting to skip straight to rolling, but the 20-minute chill is non-negotiable. It allows the oats to absorb some moisture from the bananas, which makes the dough pliable and prevents the balls from falling apart later. You’ll notice the texture becomes much more cohesive.
- Damp hands are your best friend: When rolling, keep a small bowl of water nearby. Dip your hands in and shake off the excess before each ball. The moisture creates a barrier between the sticky dough and your skin, resulting in perfectly smooth balls without tearing your hair out.
- Weigh your ingredients for consistency: Measuring cups can be wildly inaccurate, especially with oats and protein powder. A kitchen scale costs a tenner and will ensure every batch turns out the same. I’ve made this recipe a hundred times, and the weighed batches always roll better.
- Adjust the sweetness to your taste: The natural sweetness of the bananas varies greatly. If your bananas aren’t super ripe with brown spots, you may need an extra half tablespoon of honey or maple syrup. Taste the dough before chilling—it should be pleasantly sweet, not bland.
- Make them ahead for the week: This is a true meal-prep hero. I make a double batch on Sunday evening, and my family has snacks ready for school, work, and post-gym recovery all week. They keep perfectly in an airtight container in the fridge for up to two weeks—if they last that long.
Equipment You’ll Need
- Large mixing bowl
- Small mixing bowl
- Wooden spoon or silicone spatula
- Fork (for mashing bananas)
- Measuring spoons and cups (or kitchen scale)
- Baking tray or large plate
- Baking parchment
- Airtight container for storage
What to Serve With No-Bake Peanut Butter Protein Balls
- A handful of fresh berries or sliced apple for a balanced breakfast or snack.
- A dollop of Greek yogurt for extra protein and creaminess—dip the ball right in.
- Alongside a cup of green tea or black coffee for an afternoon pick-me-up.
- Crumbled over a bowl of porridge or overnight oats for texture and sweetness.
- As a post-workout bite paired with a glass of cold milk (dairy or plant-based).
Frequently Asked Questions
No-Bake Peanut Butter Protein Balls
Ingredients
Method
- Mash the bananas: In a large mixing bowl, mash your ripe bananas with a fork until they form a smooth, almost liquid paste with no large lumps. You’ll know it’s ready when the colour is a uniform pale yellow and the smell is intensely sweet.
- Combine the wet ingredients: Add the peanut butter, honey or maple syrup, vanilla extract, and milk (if using) to the mashed bananas. Stir vigorously with a wooden spoon until the mixture is glossy, thick, and smells richly of roasted peanuts. The texture should be like a thick, sticky batter.
- Mix the dry ingredients: In a separate smaller bowl, whisk together the rolled oats, protein powder, chia seeds, ground flaxseed, and sea salt. Listen for the soft rustle of the oats and the powdery sound of the protein shifting. Make sure there are no clumps of protein powder.
- Combine wet and dry: Pour the dry ingredients into the wet mixture. Fold together with a spatula or wooden spoon until you see no more streaks of white powder. The dough will feel dense, slightly sticky, and will hold together when pressed between your fingers. If it’s too dry and crumbly, add milk one teaspoon at a time until it clumps.
- Fold in the chocolate chips: Gently stir in the dark chocolate chips (if using). You’ll see them dotting the dough like little dark jewels. The dough should now be uniform and slightly tacky to the touch.
- Chill the dough: Cover the bowl with cling film and place it in the refrigerator for 20 minutes. This step is crucial—the chilled dough will be much easier to roll without it sticking to your hands. You’ll feel the difference when you touch it; it will feel firmer and less sticky.
- Roll into balls: Line a baking tray or large plate with baking parchment. Using slightly damp hands (to prevent sticking), scoop out about one tablespoon of dough and roll it between your palms to form a smooth ball. Place each ball on the lined tray. You should have about 18 balls, each about the size of a walnut. The surface should be smooth and slightly shiny from the peanut butter.
- Final chill: Place the tray of balls in the refrigerator for at least 30 minutes to firm up. Once set, they will feel firm but give slightly when squeezed. Transfer to an airtight container for storage.
Notes
I’d love to hear how you get on with these no-bake peanut butter protein balls. Have you experimented with different add-ins, like dried cranberries or shredded coconut? Drop a comment below and share your favourite variation—I’m always looking for new ideas to try in my own meal-prep rotation. And if you’re after another high-protein snack that’s perfect for batch cooking, you might enjoy our High Protein Chocolate Chip Protein Cookies or a savoury option like High Protein Tuna And White Bean Salad for a change of pace.