High-Protein Tiramisu Protein Cups
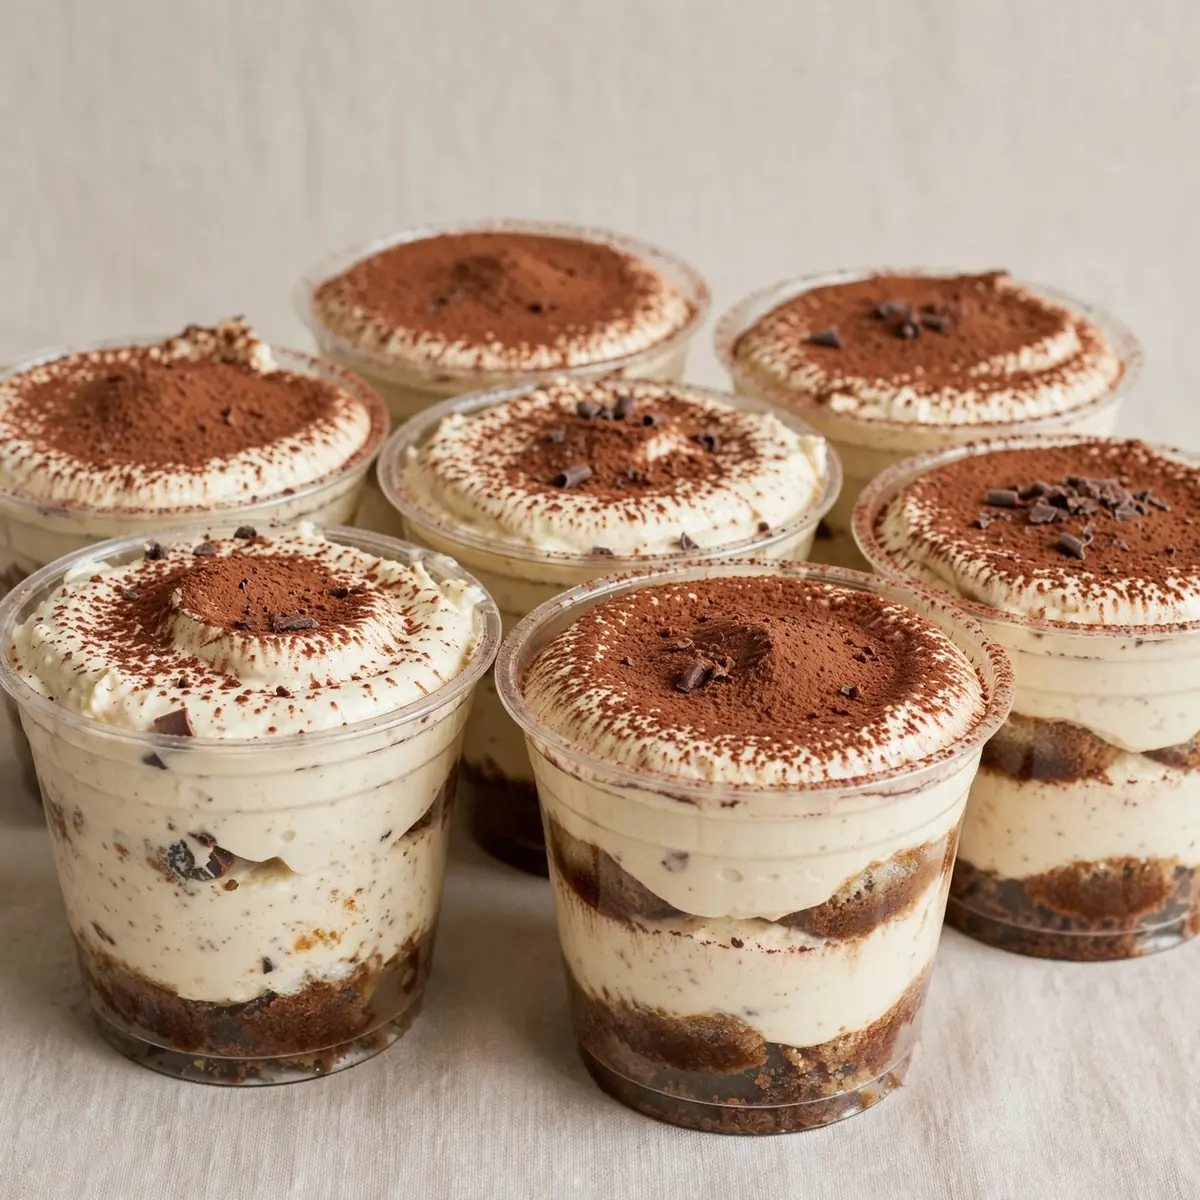
Let’s be honest, the cost of a single posh tiramisu from a café these days can feel like a minor financial crisis. I remember staring at a receipt for two small, sad-looking cups and thinking, “I could make a batch of these for the same price and have enough protein to fuel an entire week.” That’s exactly what happened. After testing this recipe five times, I finally got it just right, and it has genuinely revolutionised my Sunday meal prep. These High-Protein Tiramisu Protein Cups are my wallet’s best friend and my tastebuds’ greatest joy.
Recipe Overview
- Prep Time: 15 minutes
- Cook Time: 5 minutes (for the cream base)
- Total Time: 20 minutes (plus 2 hours chilling)
- Servings: 6 individual cups (perfect for weekly prep)
- Difficulty: Easy
Why You’ll Love This High-Protein Tiramisu Protein Cups
- Incredibly Budget-Friendly: Each serving costs roughly £1.20, a fraction of the price of a café dessert. We use simple, store-cupboard ingredients and batch cook to save serious cash.
- Meal-Prep Champion: These cups keep beautifully in the fridge for up to five days. I make six on a Sunday, and I have a ready-to-go, high-protein dessert or breakfast for the entire week.
- No-Cook, No-Fuss Assembly: There’s no baking, no standing over a hot stove. It’s a simple mix, layer, and chill situation that takes less than 20 minutes of active time.
- Hidden Protein Punch: With cottage cheese, skyr, and protein powder, you get around 25g of protein per cup. It’s a dessert that actually works for your muscles and keeps you full.
- Authentic Flavour, Real Ingredients: We use strong brewed coffee (no alcohol needed) and a rich cocoa dusting. The flavour is deep, creamy, and genuinely satisfying without any artificial notes.
Ingredients You’ll Need
- 400g full-fat cottage cheese
- 200g plain skyr or Greek yoghurt (full-fat for best creaminess)
- 60g vanilla or plain whey protein powder (or a high-quality vegan blend)
- 3 tablespoons maple syrup or honey
- 1 teaspoon vanilla bean paste or extract
- 200ml strong brewed coffee, cooled completely
- 200g ladyfinger biscuits (savoiardi) – check they are halal-certified
- 2 tablespoons unsweetened cocoa powder (for dusting)
- Pinch of fine sea salt
- Optional: 1 tablespoon instant espresso powder for a deeper coffee kick
Tip: For the most budget-friendly version, use a supermarket own-brand cottage cheese and skyr. The protein powder is the only slightly pricier item, but buying in bulk or a large tub reduces the cost per serving dramatically.
How to Make High-Protein Tiramisu Protein Cups
- Make the creamy filling: In a large mixing bowl, combine the cottage cheese, skyr, protein powder, maple syrup, vanilla paste, and a pinch of salt. Use a hand blender or a food processor to blitz until it is silky smooth and completely lump-free. You should see a thick, pale cream that looks like a fluffy mousse. The smell will be sweet and slightly tangy, but not sour.
- Prepare the coffee dip: Pour the cooled strong coffee into a shallow dish. If you want a more intense coffee flavour, stir in the optional instant espresso powder until dissolved. The liquid should be a deep, dark brown and smell rich and aromatic.
- Quickly dip the biscuits: Working one at a time, dip a ladyfinger biscuit into the coffee for no more than 2 seconds on each side. You want it to be moistened but not soggy. The biscuit should feel soft on the outside but still have a slight resistance when you lift it. If it breaks, you’ve left it in too long.
- Layer the cups: Place a single layer of dipped biscuits at the bottom of each of your six serving cups or jars. I use small glass ramekins. You may need to break a biscuit to fit the shape. You should hear a soft squelch as they settle.
- Add the cream layer: Spoon a generous layer of the creamy filling over the biscuits. Spread it evenly using the back of the spoon. The layer should be about 1cm thick. The texture will be thick and spreadable, almost like a very smooth buttercream.
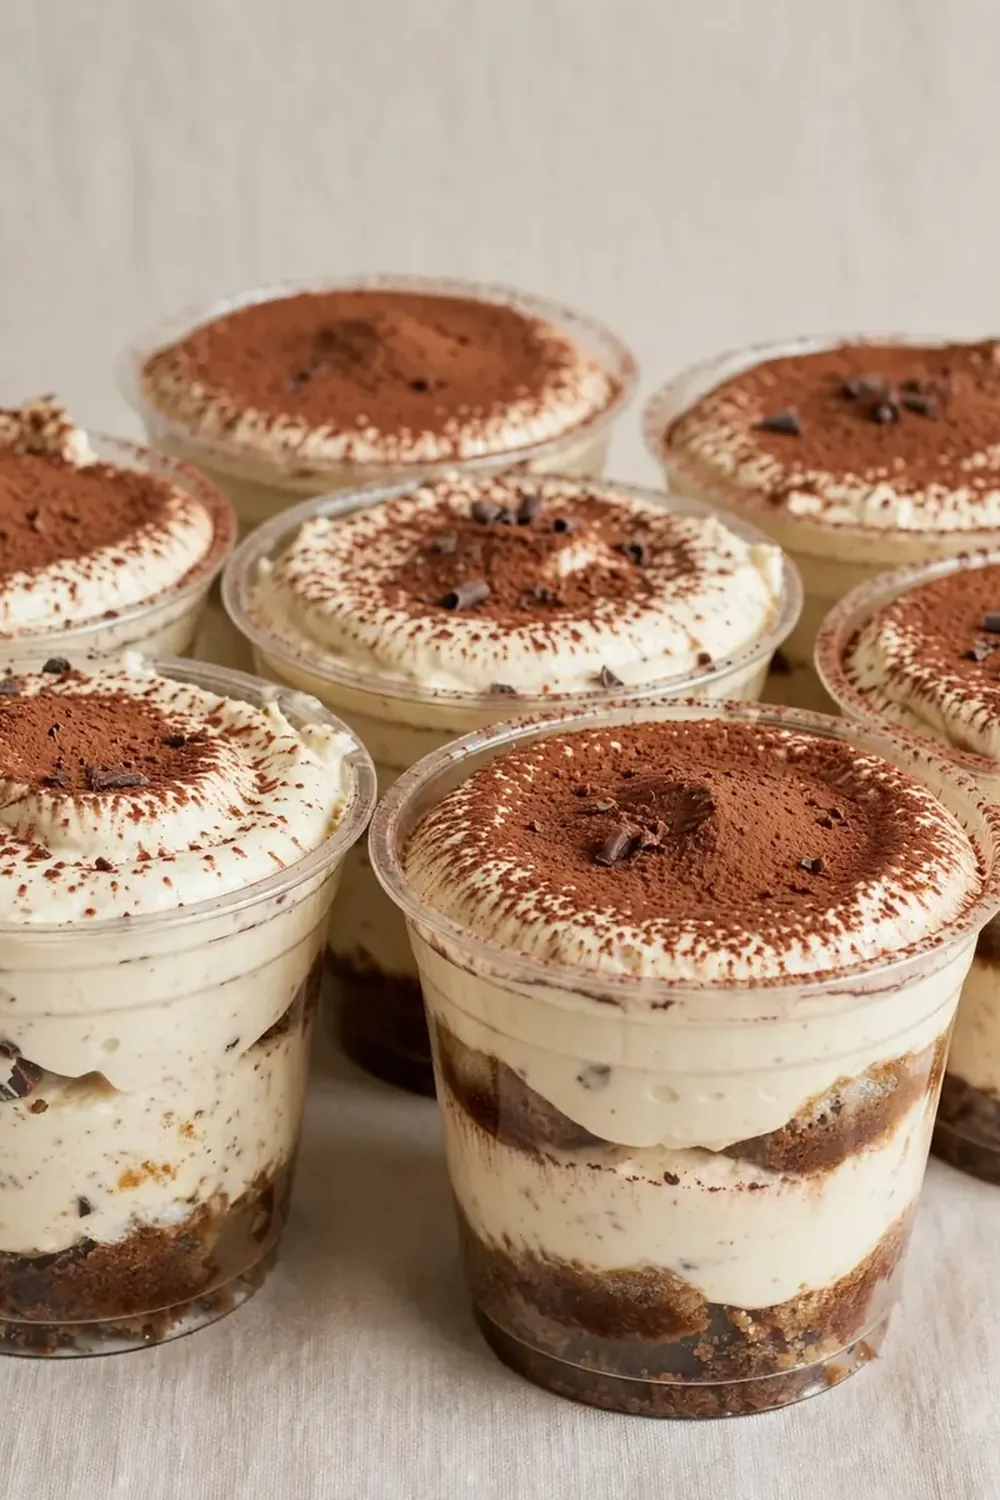
- Repeat the layers: Add another layer of dipped biscuits, then another layer of cream. Finish with a final, very thin layer of cream on top. You should have two distinct layers of biscuits and three of cream. The top should be smooth and white.
- Dust and chill: Place a fine-mesh sieve over each cup and spoon a generous amount of cocoa powder into it. Tap the sieve gently to dust the top evenly with a deep, dark brown layer. Cover each cup with a lid or cling film. Refrigerate for at least 2 hours, but ideally overnight. The wait allows the biscuits to soften fully and the flavours to meld. After chilling, the top will feel firm to the touch, and the cream will have set like a mousse.
Tips From My Kitchen
- Don’t skip the blitzing: The cottage cheese needs a thorough blitz to become silky. If you just whisk it by hand, the curds will remain, giving you a grainy texture. A food processor or hand blender is non-negotiable for that authentic, velvety tiramisu feel.
- Cool the coffee completely: Hot or even warm coffee will immediately melt the cream mixture and turn your delicate ladyfingers into a soggy mess. Always brew your coffee the night before, or pop it in the freezer for 10 minutes to chill it rapidly.
- Measure your protein powder correctly: Scoop it lightly and level it off with a knife. Packing it down will make the cream excessively thick and almost paste-like. If you find the mixture is too thick after adding the powder, add a tablespoon of milk at a time until it reaches a spreadable consistency.
- Use a light hand with the cocoa: Unsweetened cocoa powder can be bitter if over-applied. A light, even dusting is all you need. I use a small tea strainer for perfect control. You can always add more later, but you cannot take it away.
- Batch prep for the win: I make this at least once a week – it’s become a family favourite. I double the recipe and use 12 small Weck jars. They stack perfectly in the fridge, and I grab one each morning for a protein-packed start to the day or a post-dinner treat.
Equipment You’ll Need
- Hand blender or small food processor
- Large mixing bowl
- Shallow dish for dipping biscuits
- 6 small serving cups or jars (200ml capacity each)
- Fine-mesh sieve or tea strainer
- Measuring spoons
Common Mistakes to Avoid
- Over-soaking the biscuits: This is the cardinal sin of tiramisu. If you dip them for more than a few seconds, they will disintegrate into a coffee-flavoured sludge. The biscuits should be moistened, not saturated. A quick two-second dip is all it needs.
- Using low-protein, watery yoghurt: Standard yoghurt is too thin and will make your cream layer runny, ruining the entire structure. Always use skyr or a very thick Greek yoghurt. The higher protein content is what gives the cream its stable, mousse-like body.
- Skipping the resting time: I know you want to eat it immediately, but please don’t. The rest time is not optional; it is essential. The biscuits need that time to soften and absorb the coffee and cream, creating that signature texture. A minimum of 2 hours is the rule, but 4-6 hours is even better.
Delicious Variations to Try
- Chocolate Orange Version: Add the zest of one orange to the cream mixture and swap the coffee for a strong, cold brew of unsweetened orange and cacao tea. The citrus cuts through the richness beautifully.
- Vegan Option: Use a high-quality vegan protein powder (pea or soy-based), a thick plant-based yoghurt (like coconut or soy-based skyr), and ensure your biscuits are vegan-friendly. The flavour and texture will be slightly different, but still delicious.
- Different Protein: If you don’t enjoy vanilla protein powder, use unflavoured or a chocolate/mocha flavour. For a lower-sugar version, use a stevia-sweetened protein powder and omit the maple syrup. Always adjust the liquid content accordingly.
What to Serve With High-Protein Tiramisu Protein Cups
- A simple espresso or a cup of mint tea for a post-dinner treat.
- Fresh berries, such as raspberries or strawberries, to cut through the richness.
- For a more substantial breakfast, serve alongside a High Protein Chicken Fajita Meal Prep Bowls for a savoury-sweet balance, or enjoy it as a standalone high-protein snack from our High Protein Snacks collection.
Frequently Asked Questions
High-Protein Tiramisu Protein Cups
Ingredients
Method
- Make the creamy filling: In a large mixing bowl, combine the cottage cheese, skyr, protein powder, maple syrup, vanilla paste, and a pinch of salt. Use a hand blender or a food processor to blitz until it is silky smooth and completely lump-free. You should see a thick, pale cream that looks like a fluffy mousse. The smell will be sweet and slightly tangy, but not sour.
- Prepare the coffee dip: Pour the cooled strong coffee into a shallow dish. If you want a more intense coffee flavour, stir in the optional instant espresso powder until dissolved. The liquid should be a deep, dark brown and smell rich and aromatic.
- Quickly dip the biscuits: Working one at a time, dip a ladyfinger biscuit into the coffee for no more than 2 seconds on each side. You want it to be moistened but not soggy. The biscuit should feel soft on the outside but still have a slight resistance when you lift it. If it breaks, you’ve left it in too long.
- Layer the cups: Place a single layer of dipped biscuits at the bottom of each of your six serving cups or jars. I use small glass ramekins. You may need to break a biscuit to fit the shape. You should hear a soft squelch as they settle.
- Add the cream layer: Spoon a generous layer of the creamy filling over the biscuits. Spread it evenly using the back of the spoon. The layer should be about 1cm thick. The texture will be thick and spreadable, almost like a very smooth buttercream.
- Repeat the layers: Add another layer of dipped biscuits, then another layer of cream. Finish with a final, very thin layer of cream on top. You should have two distinct layers of biscuits and three of cream. The top should be smooth and white.
- Dust and chill: Place a fine-mesh sieve over each cup and spoon a generous amount of cocoa powder into it. Tap the sieve gently to dust the top evenly with a deep, dark brown layer. Cover each cup with a lid or cling film. Refrigerate for at least 2 hours, but ideally overnight. The wait allows the biscuits to soften fully and the flavours to meld. After chilling, the top will feel firm to the touch, and the cream will have set like a mousse.
Notes
There you have it – a budget-friendly, protein-packed tiramisu that tastes like a real indulgence. I truly believe that eating well shouldn’t cost a fortune, and these cups prove that point deliciously. I’d love to hear how you get on with the recipe. Do you have a favourite variation? Drop a comment below and share your meal prep victories – it makes my day to read them.