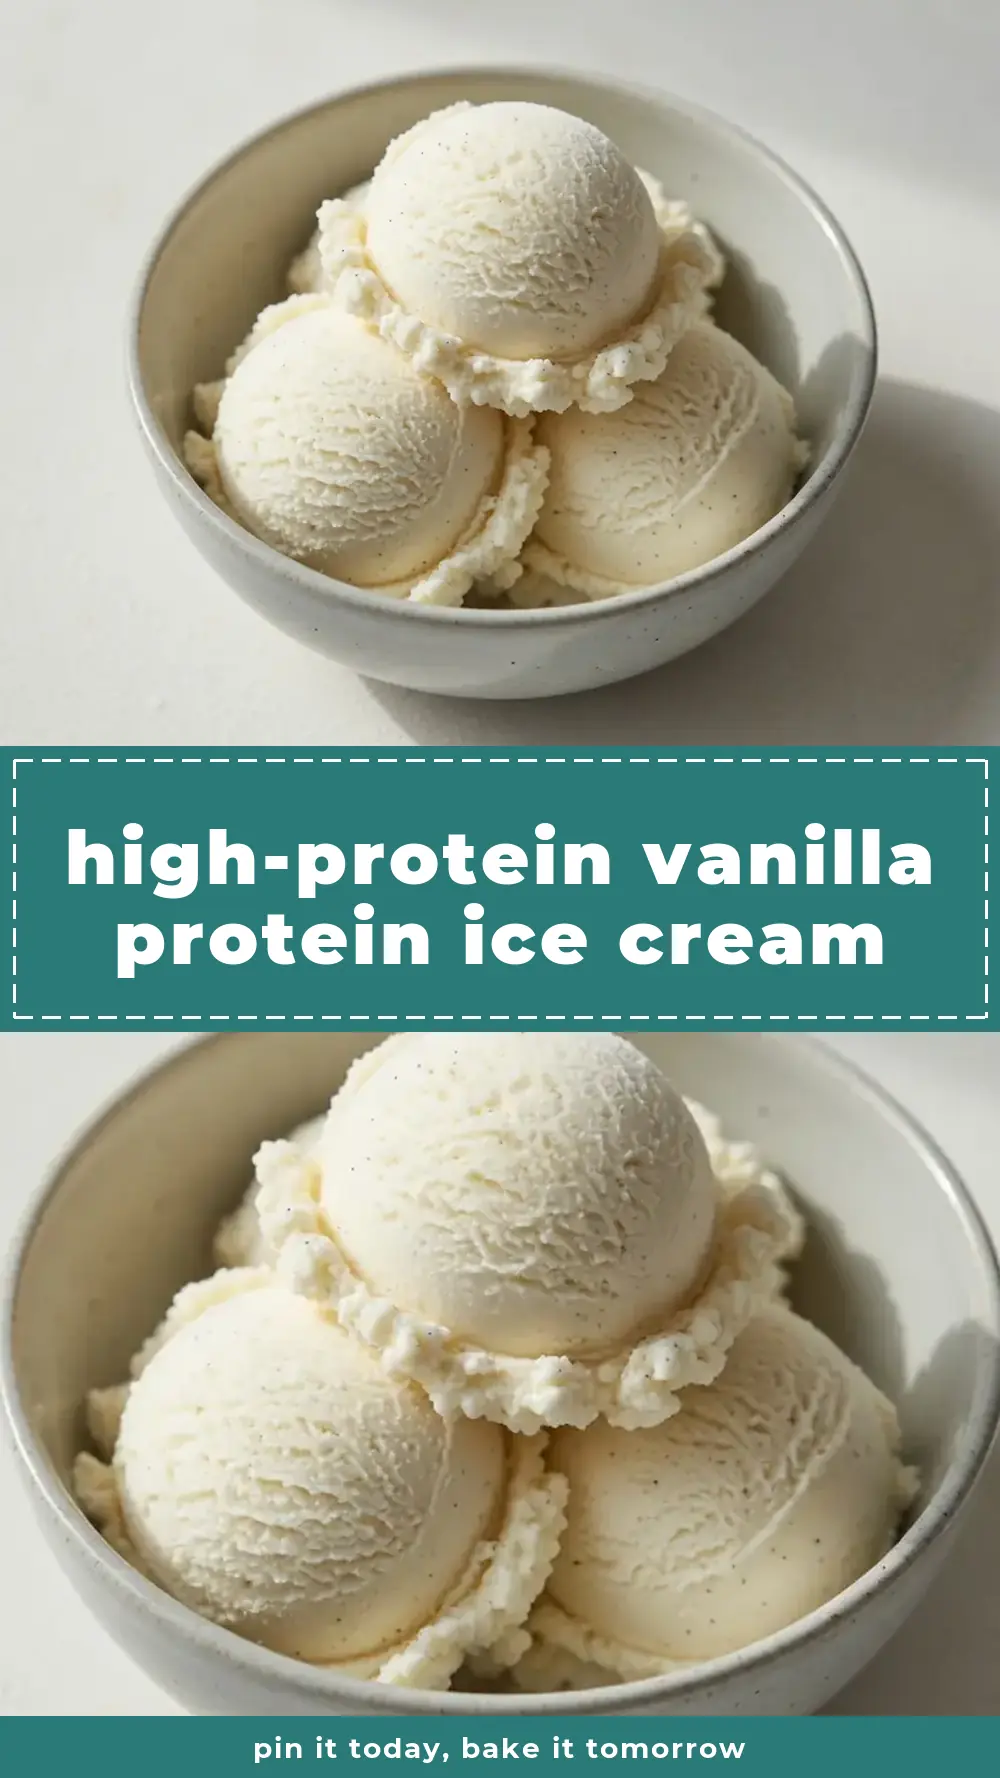
High-Protein Vanilla Protein Ice Cream
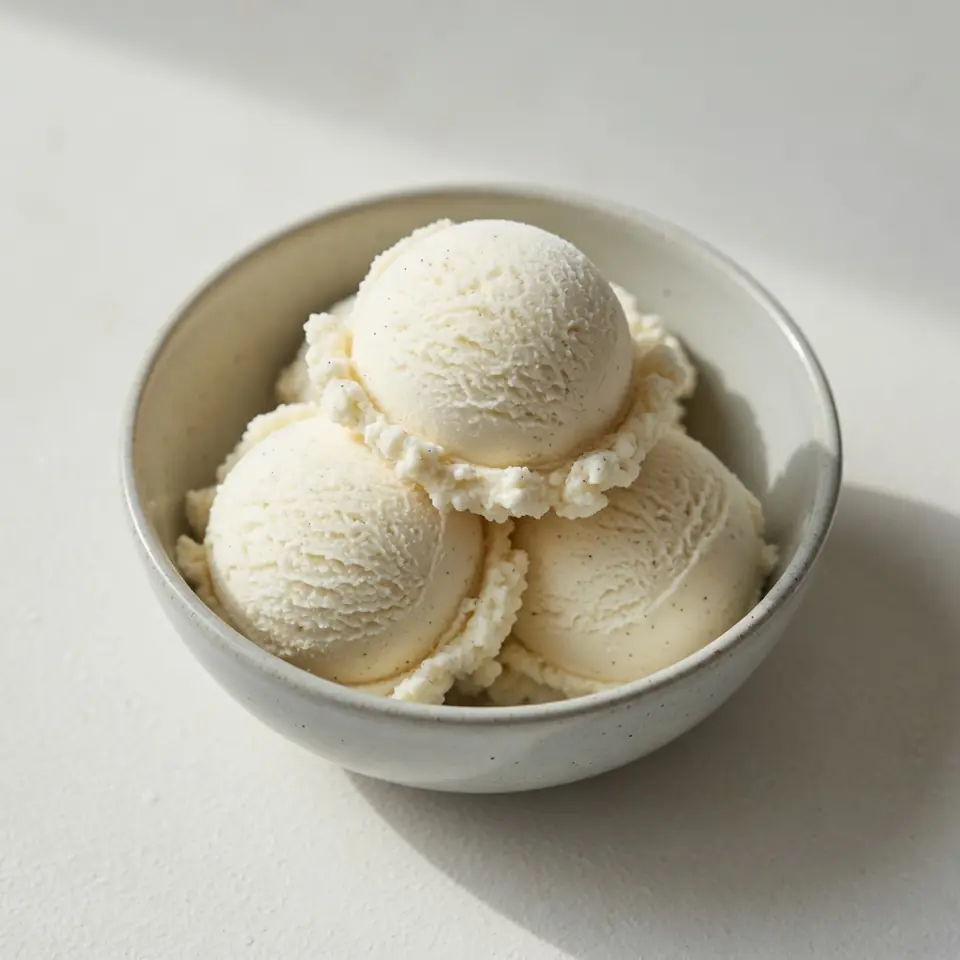
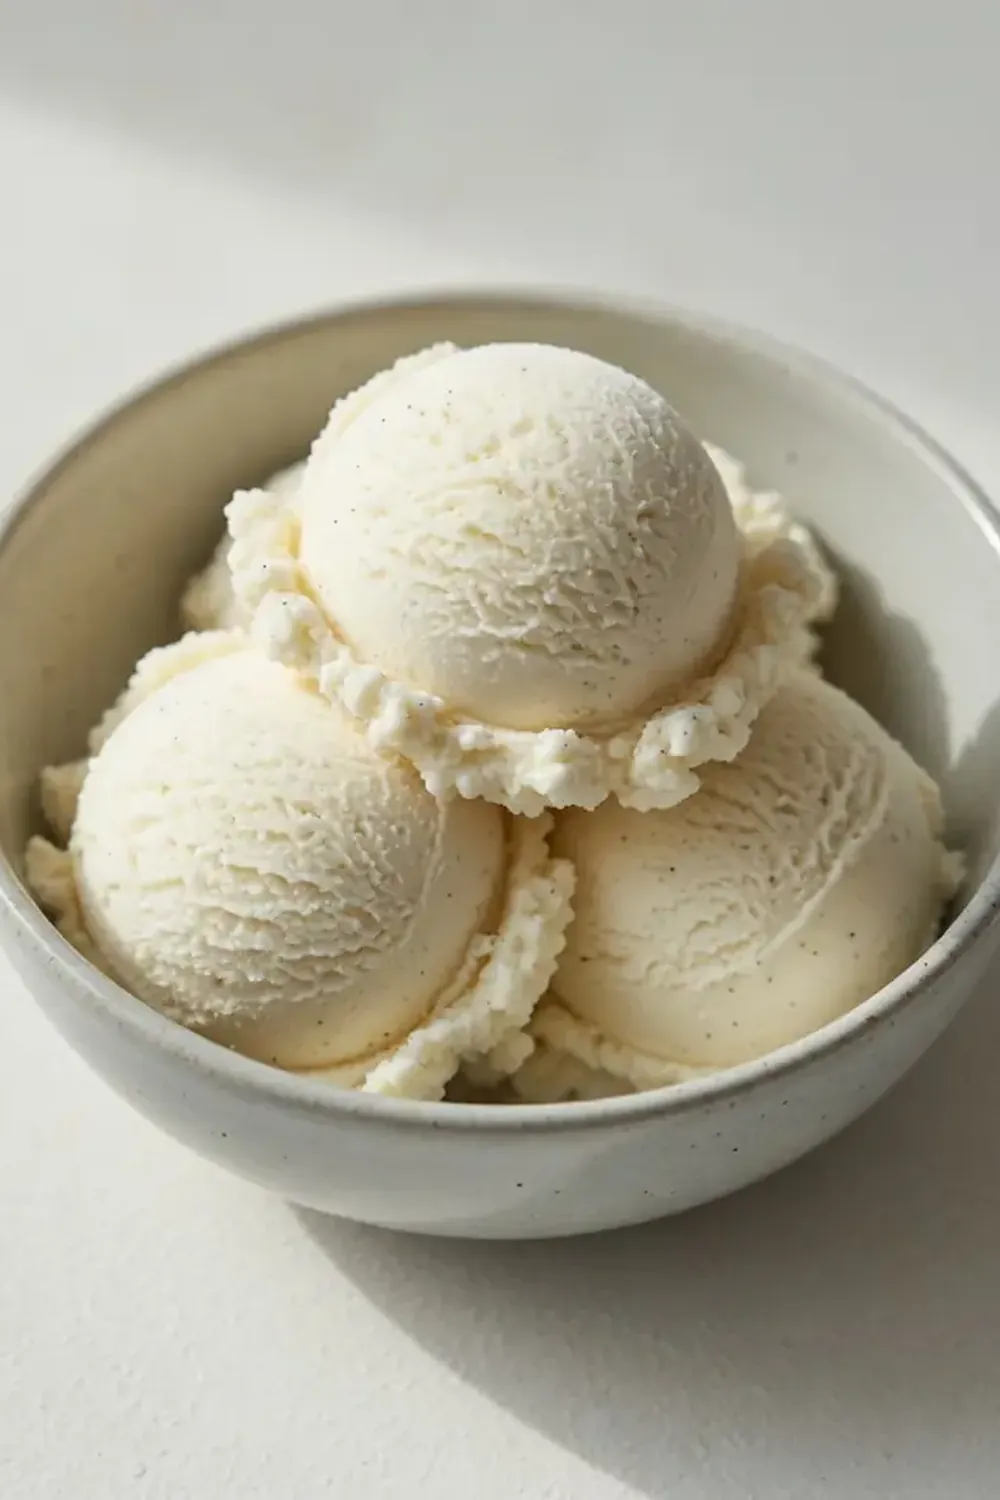
If you’re looking for a guilt-free treat that actually keeps you full, this High-Protein Vanilla Protein Ice Cream is about to become your new favourite. I’ve been making this for over 7 years, and it never disappoints — it’s my go-to for a creamy, cold dessert that fits into a balanced lifestyle.
Recipe Overview
- Prep Time: 10 minutes
- Cook Time: 0 minutes (no-churn method)
- Total Time: 4 hours 10 minutes (including freezing)
- Servings: 4 generous scoops
- Difficulty: Easy
Why You’ll Love This High-Protein Vanilla Protein Ice Cream
- Packed with protein: Each serving delivers around 20g of protein, making it a satisfying snack or post-workout recovery option.
- No ice cream maker needed: This recipe uses a simple no-churn technique, so you don’t need any fancy equipment.
- Naturally sweetened: Ripe bananas and a touch of honey or maple syrup provide sweetness without refined sugar overload.
- Creamy texture without the heaviness: Thanks to Greek yoghurt and a secret ingredient, the texture is silky and scoopable, not icy.
- Customisable to your taste: You can swap the protein powder, adjust the sweetness, or add mix-ins like nuts or dark chocolate chips.
Ingredients You’ll Need
- 2 large ripe bananas (about 200g peeled weight)
- 300ml full-fat Greek yoghurt
- 2 scoops (about 60g) vanilla protein powder
- 1 teaspoon vanilla bean paste or extract
- 1 tablespoon honey or maple syrup (optional, adjust to taste)
- 50ml whole milk (or any milk of your choice)
- Pinch of sea salt
Tip: For the best creamy texture, use full-fat Greek yoghurt — low-fat versions can make the ice cream slightly icy. If you prefer a dairy-free version, substitute with a thick coconut yoghurt and a plant-based protein powder.
How to Make High-Protein Vanilla Protein Ice Cream
- Prepare the bananas: Peel the bananas and slice them into thin rounds. Place them in a single layer on a baking tray lined with parchment paper. Freeze for at least 2 hours until they are rock solid — they should make a firm clinking sound when tapped together.
- Blend the base: In a high-speed blender or food processor, combine the frozen banana slices, Greek yoghurt, vanilla protein powder, vanilla bean paste, honey (if using), milk, and a pinch of sea salt. Blend on low, then increase to high. The mixture will look thick and slightly chunky at first, but keep blending until it becomes completely smooth and resembles a thick, creamy soft-serve — it should have a pale, uniform colour and a rich, fragrant vanilla aroma.
- Adjust consistency: If the mixture is too thick to blend, add an extra tablespoon of milk. You want a consistency that is thick but still pourable — similar to a thick milkshake. Taste it here; it should be sweet and creamy with a noticeable vanilla flavour.
- Transfer to a container: Pour the mixture into a loaf tin or a freezer-safe container. Smooth the top with a spatula — the surface should look glossy and even. Cover tightly with a lid or cling film, pressing it directly onto the surface to prevent ice crystals from forming.
- Freeze until firm: Place the container in the freezer for at least 4 hours, or overnight for a firmer texture. After 2 hours, you can give it a stir if you like, but it’s not essential. When ready, the ice cream should be scoopable — it will have a slight give when pressed with a spoon, and a creamy, pale yellow colour.
- Serve and enjoy: Let the ice cream sit at room temperature for 5 minutes before scooping to soften slightly. Scoop into bowls and enjoy immediately. The texture should be smooth and creamy, not icy or crumbly.
Tips From My Kitchen
- Use frozen bananas that are fully ripe: The riper the bananas, the sweeter and creamier your ice cream will be. Look for bananas with plenty of brown spots — they provide natural sweetness and a smoother texture because their starch has converted to sugar. Green or slightly yellow bananas will result in a less sweet, more starchy ice cream.
- Don’t skip the pinch of salt: Salt might seem odd in a sweet recipe, but it enhances the vanilla flavour and balances the sweetness. It also helps lower the freezing point slightly, which means your ice cream will be softer and easier to scoop straight from the freezer. Just a tiny pinch — about 1/8 teaspoon — is enough.
- Choose a high-quality vanilla protein powder: The flavour of your protein powder will shine through, so pick one you enjoy eating on its own. A whey or casein blend works best for texture — casein helps create a thicker, creamier consistency. If you use a plant-based powder, look for one that’s finely ground and flavoured with vanilla to avoid a chalky taste.
- Press cling film onto the surface before freezing: This simple step prevents ice crystals from forming on top of the ice cream. Ice crystals can make the surface grainy and affect the overall texture. If you don’t have cling film, you can also use a layer of baking paper or a tight-fitting lid.
- Let it soften before scooping: Straight from the freezer, this ice cream will be very firm. Let it sit at room temperature for 5-10 minutes — you’ll know it’s ready when the edges start to look slightly glossy and a spoon can glide through without too much resistance. This makes scooping much easier and gives you that perfect creamy texture.
Delicious Variations to Try
- Spicy Version: Add 1/4 teaspoon of ground cinnamon and a pinch of cayenne pepper along with the other ingredients. The warmth of the spices complements the vanilla beautifully and gives a gentle heat that lingers after each bite.
- Vegetarian/Vegan Option: Replace the Greek yoghurt with a thick coconut yoghurt (full-fat for creaminess) and use a plant-based vanilla protein powder made from pea or brown rice protein. Swap the honey for maple syrup or agave nectar, and use almond or oat milk instead of whole milk. The texture will be slightly different but still deliciously creamy.
- Different Protein: If you don’t have vanilla protein powder, you can use unflavoured protein powder and add an extra teaspoon of vanilla extract. For a chocolate twist, use chocolate protein powder and reduce the honey slightly — the result is a rich, fudgy vanilla-chocolate ice cream that my husband, who’s usually picky, asked for seconds!
What to Serve With High-Protein Vanilla Protein Ice Cream
- Fresh berries like strawberries, raspberries, or blueberries for a burst of tartness
- A sprinkle of chopped nuts — almonds, walnuts, or pecans add a lovely crunch
- A drizzle of warm sugar-free chocolate sauce or a dollop of peanut butter
- Crumbled high-protein biscuits or a few dark chocolate chips for texture
- A side of High Protein Overnight Oats Meal Prep Jars for a balanced breakfast or post-workout meal
Frequently Asked Questions
High-Protein Vanilla Protein Ice Cream
Ingredients
Method
-
Prepare the bananas: Peel the bananas and slice them into thin rounds. Place them in a single layer on a baking tray lined with parchment paper. Freeze for at least 2 hours until they are rock solid — they should make a firm clinking sound when tapped together.
-
Blend the base: In a high-speed blender or food processor, combine the frozen banana slices, Greek yoghurt, vanilla protein powder, vanilla bean paste, honey (if using), milk, and a pinch of sea salt. Blend on low, then increase to high. The mixture will look thick and slightly chunky at first, but keep blending until it becomes completely smooth and resembles a thick, creamy soft-serve — it should have a pale, uniform colour and a rich, fragrant vanilla aroma.
-
Adjust consistency: If the mixture is too thick to blend, add an extra tablespoon of milk. You want a consistency that is thick but still pourable — similar to a thick milkshake. Taste it here; it should be sweet and creamy with a noticeable vanilla flavour.
-
Transfer to a container: Pour the mixture into a loaf tin or a freezer-safe container. Smooth the top with a spatula — the surface should look glossy and even. Cover tightly with a lid or cling film, pressing it directly onto the surface to prevent ice crystals from forming.
-
Freeze until firm: Place the container in the freezer for at least 4 hours, or overnight for a firmer texture. After 2 hours, you can give it a stir if you like, but it’s not essential. When ready, the ice cream should be scoopable — it will have a slight give when pressed with a spoon, and a creamy, pale yellow colour.
-
Serve and enjoy: Let the ice cream sit at room temperature for 5 minutes before scooping to soften slightly. Scoop into bowls and enjoy immediately. The texture should be smooth and creamy, not icy or crumbly.
Notes
I’d love to hear how your High-Protein Vanilla Protein Ice Cream turns out! Drop a comment below and let me know if you tried any variations — and if you’re looking for more high-protein treats, don’t miss my High Protein Protein Shake Popsicles or High Protein Peanut Butter Cup Protein Bars for even more delicious, protein-packed goodness.