Ingredients
Method
- Line your tin: Take a 20cm square baking tin and line it with baking parchment, leaving overhang on two sides. This will act as handles later. You want the parchment to sit snugly in the corners with no wrinkles — smooth it down with your fingers until you feel the paper lying flat against the metal.
- Melt the wet ingredients: In a small saucepan over the lowest possible heat, combine the peanut butter, coconut oil, and honey. Stir gently with a silicone spatula. Watch as the solid coconut oil turns from opaque white to clear liquid, and the peanut butter loosens into a glossy, runny mixture. The aroma will shift from nutty to sweet and buttery. Once everything is fully melted and you see no streaks of solid fat (about 3–4 minutes), remove the pan from the heat.
- Cool the mixture slightly: Let the pan sit on your counter for 3 minutes. You want the mixture to cool just enough that it won't cook the protein powder. Test by dipping your clean finger in — it should feel warm but not hot, like a comfortable bath temperature. If it's too hot, the protein will clump and turn rubbery.
- Combine the dry ingredients: In a medium mixing bowl, whisk together the protein powder, sifted cocoa powder, and salt. Whisk until you see an even, uniform colour — no white streaks of protein powder remaining. The mixture should smell deeply chocolatey with a faint peanut undertone.
- Mix wet into dry: Pour the warm peanut butter mixture into the dry ingredients. Stir with a wooden spoon or spatula in a folding motion. At first, the mixture will look separated and oily — keep folding. After about 30 seconds of steady stirring, you'll see it come together into a thick, fudge-like paste. The texture should be glossy, slightly stiff, and hold its shape when you lift the spoon. If it looks too runny, add 1 tablespoon more protein powder; if too thick and crumbly, add 1 teaspoon of warm water.
- Add optional extras: Fold in the dark chocolate chips and chopped peanuts if using. Stir until you see them evenly distributed throughout the fudge — about 10–12 folds. You should spot the dark flecks of chocolate and the lighter pieces of peanut scattered consistently through the dark mixture.
- Press into the tin: Scrape the fudge mixture into your lined tin. Using the back of a spoon or a small offset spatula, press it down firmly into an even layer. The surface should look smooth and level with no gaps at the edges. Take your time here — pressing firmly eliminates air pockets that would make the fudge crumbly later.
- Chill until firm: Place the tin in the refrigerator for at least 2 hours, or until the fudge feels solid to the touch. When ready, the surface should be firm and no longer sticky. If you press it gently with your fingertip, it should feel set with just a slight give — like a firm chocolate bar.
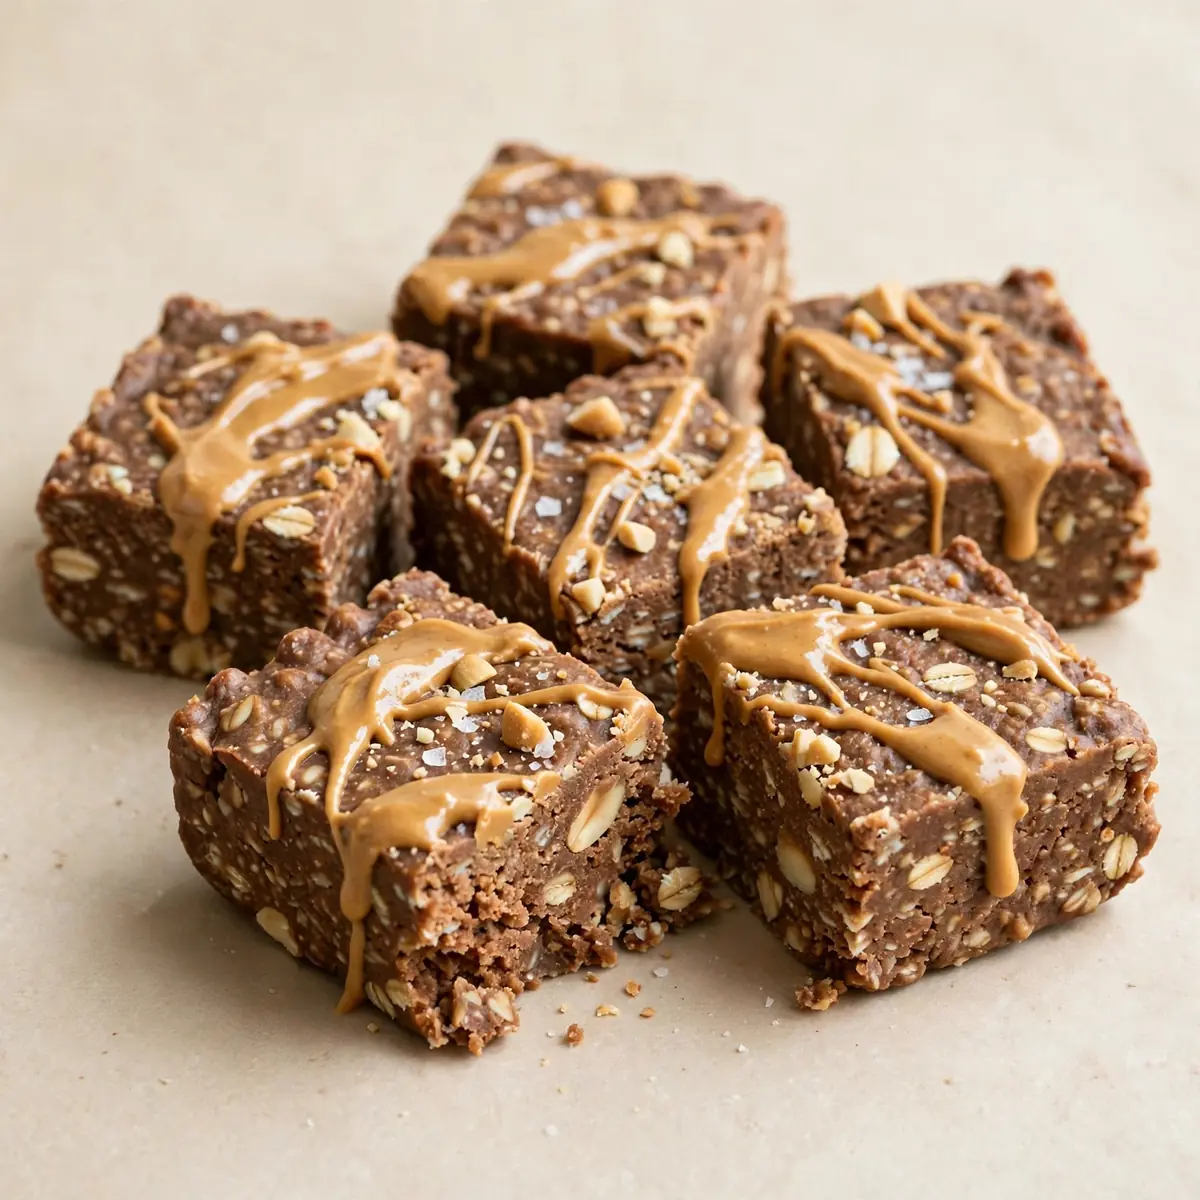
- Slice and store: Lift the fudge out using the parchment overhang. Place it on a cutting board. Using a sharp chef's knife, slice into 16 even squares. You should hear a clean, crisp snap as the knife cuts through — if the fudge squishes or sticks to the blade, it needs another 30 minutes in the fridge. Store in an airtight container.
Notes
Chill time is at least 2 hours. Store in an airtight container in the refrigerator for up to 2 weeks.