
Protein Fudge With Peanut Butter
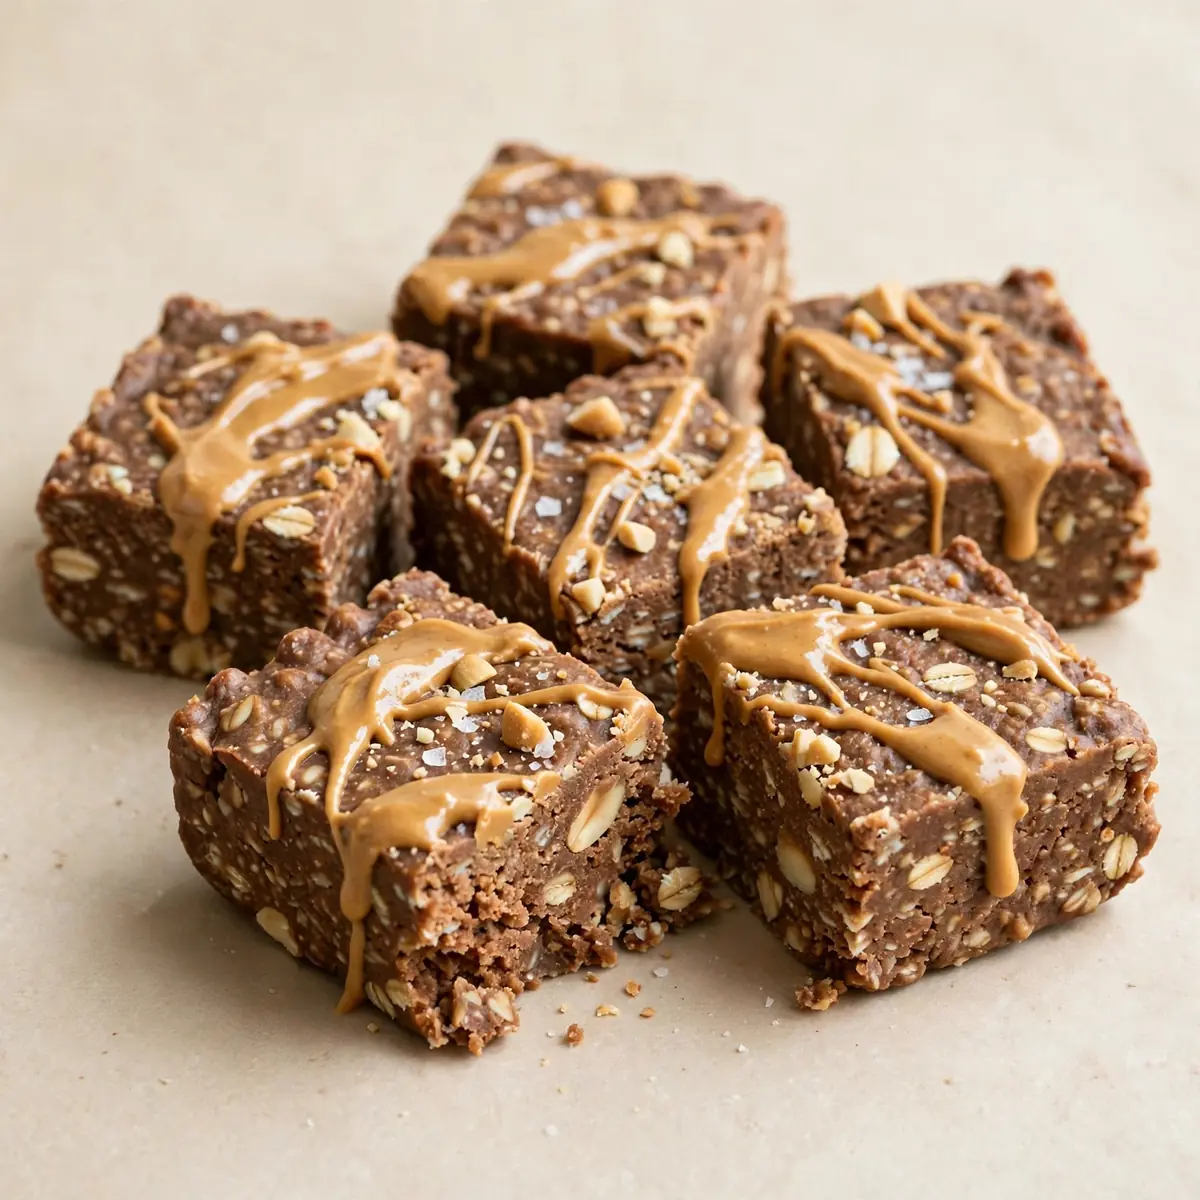
I’ve been making this protein fudge with peanut butter for over 8 years, and it never disappoints. What started as a desperate attempt to use up a jar of whey protein and some leftover peanut butter has turned into my most-requested meal-prep snack.
Recipe Overview
- Prep time: 10 minutes
- Cook time: 5 minutes (stovetop) + 2 hours chilling
- Total time: 2 hours 15 minutes
- Servings: 16 squares
- Difficulty: Easy
- Cost per serving: Approximately 45p
Why You’ll Love This Protein Fudge with Peanut Butter
- Budget-friendly meal-prep hero: At roughly 45p per square, this fudge costs less than a shop-bought protein bar and makes a batch large enough to last your whole week.
- No-bake convenience: You don’t need to switch on your oven, which keeps your kitchen cool and your electricity bill lower — a win for any home cook watching their budget.
- Freezer-friendly for bulk cooking: Double the batch and freeze half; the fudge thaws in under 10 minutes at room temperature, making it perfect for grab-and-go snacks.
- Customisable texture: You can adjust the firmness by tweaking the liquid content, so you get exactly the fudge consistency you prefer — soft and creamy or firm and chewy.
- Macro-friendly without the markup: Each square delivers around 8g of protein for a fraction of the price of commercial protein snacks, and you control exactly what goes into them.
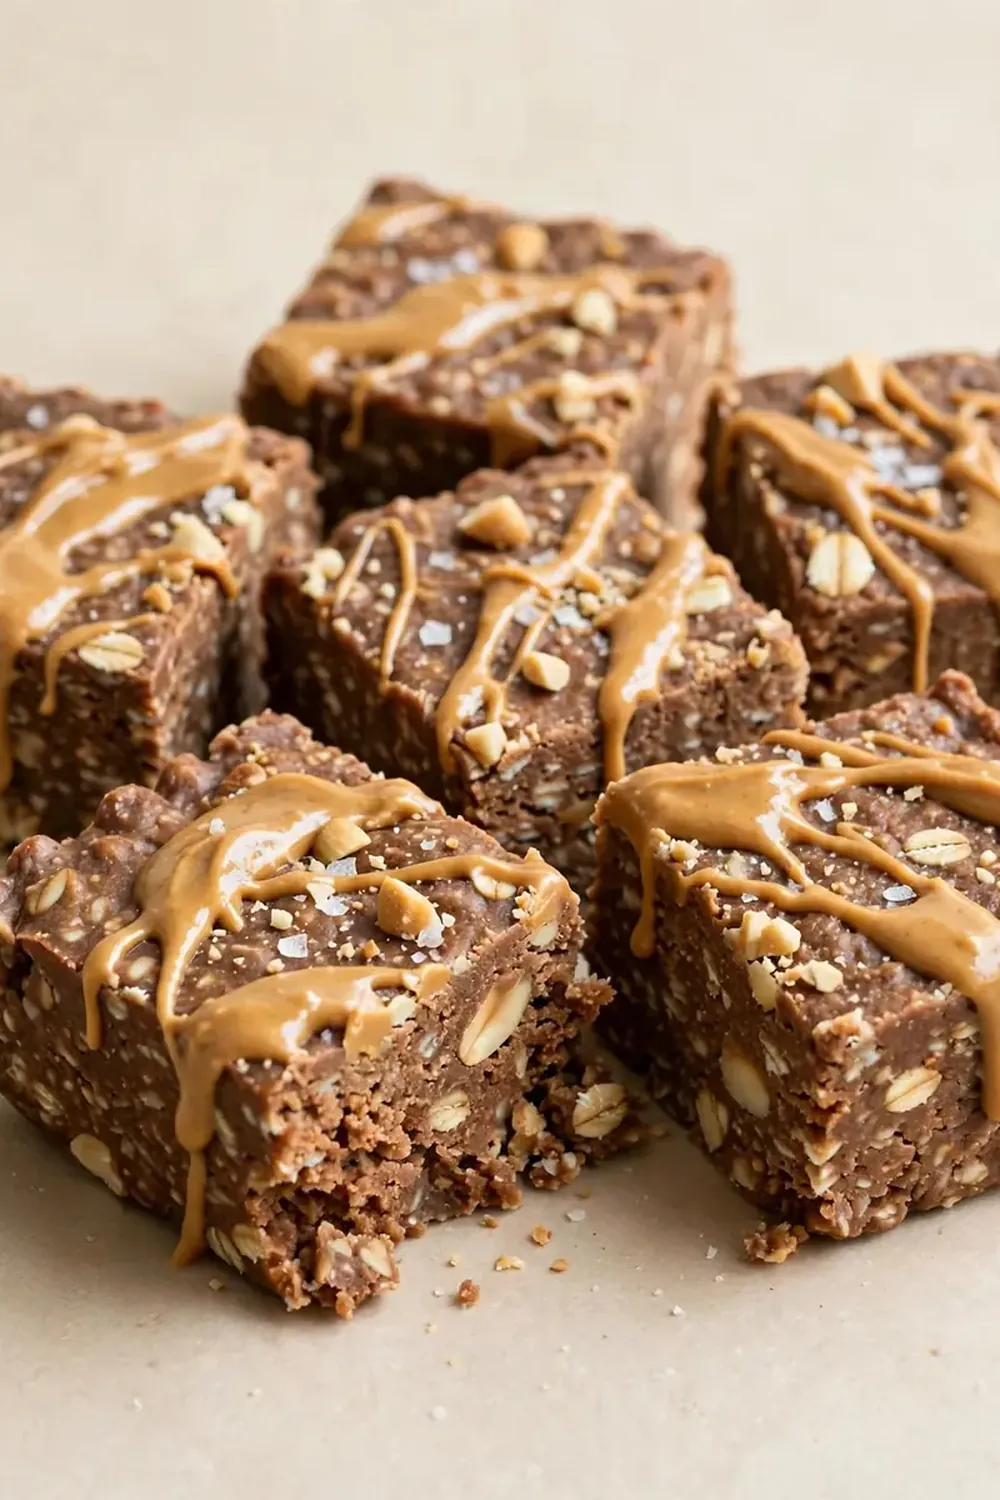
Ingredients You’ll Need
- 200g smooth peanut butter (no added sugar or oil)
- 120ml coconut oil (or unsalted butter for a richer flavour)
- 80ml honey or maple syrup
- 80g vanilla or chocolate whey protein powder (or plant-based protein)
- 50g cocoa powder, sifted
- 1 tsp vanilla extract
- ¼ tsp fine sea salt
- Optional: 30g dark chocolate chips (70% cocoa or higher)
- Optional: 20g chopped roasted peanuts for crunch
Tip: Weigh your peanut butter and coconut oil precisely — too much fat will leave your fudge greasy and soft, while too little will make it crumbly and dry. I use a digital kitchen scale for accuracy every time.
How to Make Protein Fudge with Peanut Butter
- Line your tin: Take a 20cm square baking tin and line it with baking parchment, leaving overhang on two sides. This will act as handles later. You want the parchment to sit snugly in the corners with no wrinkles — smooth it down with your fingers until you feel the paper lying flat against the metal.
- Melt the wet ingredients: In a small saucepan over the lowest possible heat, combine the peanut butter, coconut oil, and honey. Stir gently with a silicone spatula. Watch as the solid coconut oil turns from opaque white to clear liquid, and the peanut butter loosens into a glossy, runny mixture. The aroma will shift from nutty to sweet and buttery. Once everything is fully melted and you see no streaks of solid fat (about 3–4 minutes), remove the pan from the heat.
- Cool the mixture slightly: Let the pan sit on your counter for 3 minutes. You want the mixture to cool just enough that it won’t cook the protein powder. Test by dipping your clean finger in — it should feel warm but not hot, like a comfortable bath temperature. If it’s too hot, the protein will clump and turn rubbery.
- Combine the dry ingredients: In a medium mixing bowl, whisk together the protein powder, sifted cocoa powder, and salt. Whisk until you see an even, uniform colour — no white streaks of protein powder remaining. The mixture should smell deeply chocolatey with a faint peanut undertone.
- Mix wet into dry: Pour the warm peanut butter mixture into the dry ingredients. Stir with a wooden spoon or spatula in a folding motion. At first, the mixture will look separated and oily — keep folding. After about 30 seconds of steady stirring, you’ll see it come together into a thick, fudge-like paste. The texture should be glossy, slightly stiff, and hold its shape when you lift the spoon. If it looks too runny, add 1 tablespoon more protein powder; if too thick and crumbly, add 1 teaspoon of warm water.
- Add optional extras: Fold in the dark chocolate chips and chopped peanuts if using. Stir until you see them evenly distributed throughout the fudge — about 10–12 folds. You should spot the dark flecks of chocolate and the lighter pieces of peanut scattered consistently through the dark mixture.
- Press into the tin: Scrape the fudge mixture into your lined tin. Using the back of a spoon or a small offset spatula, press it down firmly into an even layer. The surface should look smooth and level with no gaps at the edges. Take your time here — pressing firmly eliminates air pockets that would make the fudge crumbly later.
- Chill until firm: Place the tin in the refrigerator for at least 2 hours, or until the fudge feels solid to the touch. When ready, the surface should be firm and no longer sticky. If you press it gently with your fingertip, it should feel set with just a slight give — like a firm chocolate bar.
- Slice and store: Lift the fudge out using the parchment overhang. Place it on a cutting board. Using a sharp chef’s knife, slice into 16 even squares. You should hear a clean, crisp snap as the knife cuts through — if the fudge squishes or sticks to the blade, it needs another 30 minutes in the fridge. Store in an airtight container.
Tips From My Kitchen
- Use a runny peanut butter: Natural peanut butter that separates (oil on top) works best because the oil content is consistent. Stir it well before measuring. If you use a thick, no-stir peanut butter, your fudge will turn out dense and dry because those brands often contain added palm oil and sugar that alter the texture.
- Don’t skip the salt: The salt isn’t just for flavour — it balances the bitterness of the cocoa and the sweetness of the honey. Without it, the fudge tastes flat and one-dimensional. I use fine sea salt because it dissolves evenly; flaky salt can leave crunchy pockets that some people find unpleasant in fudge.
- Chill thoroughly before cutting: I learned this the hard way. Cutting fudge that isn’t fully set results in sticky, ragged edges and a messy crumb. The 2-hour minimum is non-negotiable. For cleaner slices, chill for 3 hours and wipe your knife clean between each cut.
- Store in the fridge, not the cupboard: Because this fudge contains coconut oil and peanut butter, it will soften at room temperature above 20°C. Kept in the fridge, it stays firm for up to 2 weeks. For longer storage, freeze the squares in a single layer on a baking sheet, then transfer to a freezer bag — they’ll keep for 3 months.
- Adjust sweetness to your taste: Different protein powders have different sweetness levels. A vanilla whey protein is usually sweeter than an unflavoured plant-based powder. Taste the mixture before pressing it into the tin (it’s safe to taste since there are no raw eggs). If it’s not sweet enough, add another tablespoon of honey; if too sweet, add a pinch more salt.
Equipment You’ll Need
- 20cm square baking tin
- Baking parchment
- Small saucepan
- Silicone spatula or wooden spoon
- Medium mixing bowl
- Whisk
- Sharp chef’s knife
- Digital kitchen scale
- Airtight storage container
Common Mistakes to Avoid
- Overheating the peanut butter mixture: If you let the peanut butter and coconut oil get too hot, the protein powder will seize up when you add it, creating a grainy, rubbery texture instead of smooth fudge. Keep the heat on low and remove the pan the moment everything is melted — you want a warm liquid, not a hot one.
- Using the wrong protein powder: Not all protein powders behave the same in fudge. Whey concentrate works beautifully, but casein or plant-based blends can turn the fudge into a dry, crumbly mess because they absorb more liquid. If you’re using a plant-based protein, reduce the powder by 10g and add an extra tablespoon of honey to compensate for the dryness.
- Skipping the parchment lining: Without parchment, the fudge sticks stubbornly to the tin. You’ll end up scraping it out in chunks, ruining the clean squares. The overhang is essential — it lets you lift the whole block out in one piece for easy slicing.
- Not pressing firmly enough: Loose, unevenly packed fudge crumbles when you cut it. Take 30 seconds to press the mixture down hard with the back of a spoon, especially into the corners. You want a dense, compact block with no visible air pockets.
- Cutting too early: Impatience leads to sticky, jagged pieces. The fudge needs a full 2 hours to set properly. If you cut it after only 1 hour, the centre will still be soft and the squares won’t hold their shape. Trust the process and wait.
Delicious Variations to Try
- Salted caramel twist: Replace the honey with 80ml of date syrup and add ½ teaspoon of flaky sea salt on top before chilling. The date syrup gives a deeper, caramel-like sweetness that pairs beautifully with the peanut butter.
- Double chocolate version: Use chocolate protein powder instead of vanilla, and increase the cocoa powder to 70g. Fold in 40g of white chocolate chips for contrast. The result is an intensely dark, rich fudge that tastes like a luxury dessert.
- Crunchy nut variation: Swap the smooth peanut butter for crunchy peanut butter, and add 30g of crushed roasted almonds or cashews. The extra texture makes each bite interesting and adds a satisfying crunch that complements the creamy fudge base.
- Vegan option: Use a plant-based protein powder (pea or brown rice protein works best), replace the honey with maple syrup, and ensure your chocolate chips are dairy-free. The texture will be slightly less creamy but still deliciously fudgy.
- Spiced version: Add 1 teaspoon of ground cinnamon and ¼ teaspoon of cayenne pepper to the dry ingredients. The warmth of the cinnamon and the subtle heat from the cayenne cut through the sweetness and make the fudge unexpectedly moreish.
What to Serve With Protein Fudge with Peanut Butter
- As a post-workout snack with a glass of cold milk or a plant-based alternative
- Crumbled over Greek yoghurt with fresh berries for a high-protein breakfast bowl
- Alongside a cup of black coffee or espresso — the bitterness balances the sweetness
- Chopped into small pieces and stirred into overnight oats for extra protein and chocolate flavour
- Wrapped individually and packed in lunchboxes for a mid-afternoon energy boost
Frequently Asked Questions
Protein Fudge with Peanut Butter
Ingredients
Method
- Line your tin: Take a 20cm square baking tin and line it with baking parchment, leaving overhang on two sides. This will act as handles later. You want the parchment to sit snugly in the corners with no wrinkles — smooth it down with your fingers until you feel the paper lying flat against the metal.
- Melt the wet ingredients: In a small saucepan over the lowest possible heat, combine the peanut butter, coconut oil, and honey. Stir gently with a silicone spatula. Watch as the solid coconut oil turns from opaque white to clear liquid, and the peanut butter loosens into a glossy, runny mixture. The aroma will shift from nutty to sweet and buttery. Once everything is fully melted and you see no streaks of solid fat (about 3–4 minutes), remove the pan from the heat.
- Cool the mixture slightly: Let the pan sit on your counter for 3 minutes. You want the mixture to cool just enough that it won't cook the protein powder. Test by dipping your clean finger in — it should feel warm but not hot, like a comfortable bath temperature. If it's too hot, the protein will clump and turn rubbery.
- Combine the dry ingredients: In a medium mixing bowl, whisk together the protein powder, sifted cocoa powder, and salt. Whisk until you see an even, uniform colour — no white streaks of protein powder remaining. The mixture should smell deeply chocolatey with a faint peanut undertone.
- Mix wet into dry: Pour the warm peanut butter mixture into the dry ingredients. Stir with a wooden spoon or spatula in a folding motion. At first, the mixture will look separated and oily — keep folding. After about 30 seconds of steady stirring, you'll see it come together into a thick, fudge-like paste. The texture should be glossy, slightly stiff, and hold its shape when you lift the spoon. If it looks too runny, add 1 tablespoon more protein powder; if too thick and crumbly, add 1 teaspoon of warm water.
- Add optional extras: Fold in the dark chocolate chips and chopped peanuts if using. Stir until you see them evenly distributed throughout the fudge — about 10–12 folds. You should spot the dark flecks of chocolate and the lighter pieces of peanut scattered consistently through the dark mixture.
- Press into the tin: Scrape the fudge mixture into your lined tin. Using the back of a spoon or a small offset spatula, press it down firmly into an even layer. The surface should look smooth and level with no gaps at the edges. Take your time here — pressing firmly eliminates air pockets that would make the fudge crumbly later.
- Chill until firm: Place the tin in the refrigerator for at least 2 hours, or until the fudge feels solid to the touch. When ready, the surface should be firm and no longer sticky. If you press it gently with your fingertip, it should feel set with just a slight give — like a firm chocolate bar.
- Slice and store: Lift the fudge out using the parchment overhang. Place it on a cutting board. Using a sharp chef's knife, slice into 16 even squares. You should hear a clean, crisp snap as the knife cuts through — if the fudge squishes or sticks to the blade, it needs another 30 minutes in the fridge. Store in an airtight container.
Notes
I stumbled upon this combination by accident, and it’s been a hit ever since. This protein fudge with peanut butter has saved me countless times when I needed a quick, satisfying snack that wouldn’t blow my budget or my macros. I’d love to hear how yours turns out — drop a comment below and let me know which variation you tried, or if you’ve got your own twist on this fudge. For more high-protein snack ideas, have a look at my High Protein Deviled Eggs or this Protein Mug Cake With Cocoa for another quick treat. And if you’re after a full collection, check out the All Recipes page for more inspiration.