High-Protein Protein Shake Popsicles
I remember the day I finally cracked the code on making protein shakes actually enjoyable. For weeks, I’d been choking down chalky, lukewarm concoctions, convincing myself this was the price of getting fit. Then, on a sweltering afternoon with a freezer full of overripe bananas and a half-full tub of vanilla protein powder, inspiration struck. Why not turn this chore into a treat? Why not make a batch of High-Protein Protein Shake Popsicles that were good for my wallet, my macros, and my sanity? This recipe was born from that very moment of kitchen rebellion, and it has completely changed my meal prep game.
Recipe Overview
- Prep Time: 10 minutes
- Freeze Time: 4-6 hours (or overnight)
- Total Time: 4 hours 10 minutes
- Servings: 8 popsicles (depending on mould size)
- Difficulty: Easy
Why You’ll Love This High-Protein Protein Shake Popsicles
- Budget-Friendly Meal Prep: At roughly 80p per popsicle, this is a fraction of the cost of store-bought protein snacks. You can batch-make a week’s worth in one go.
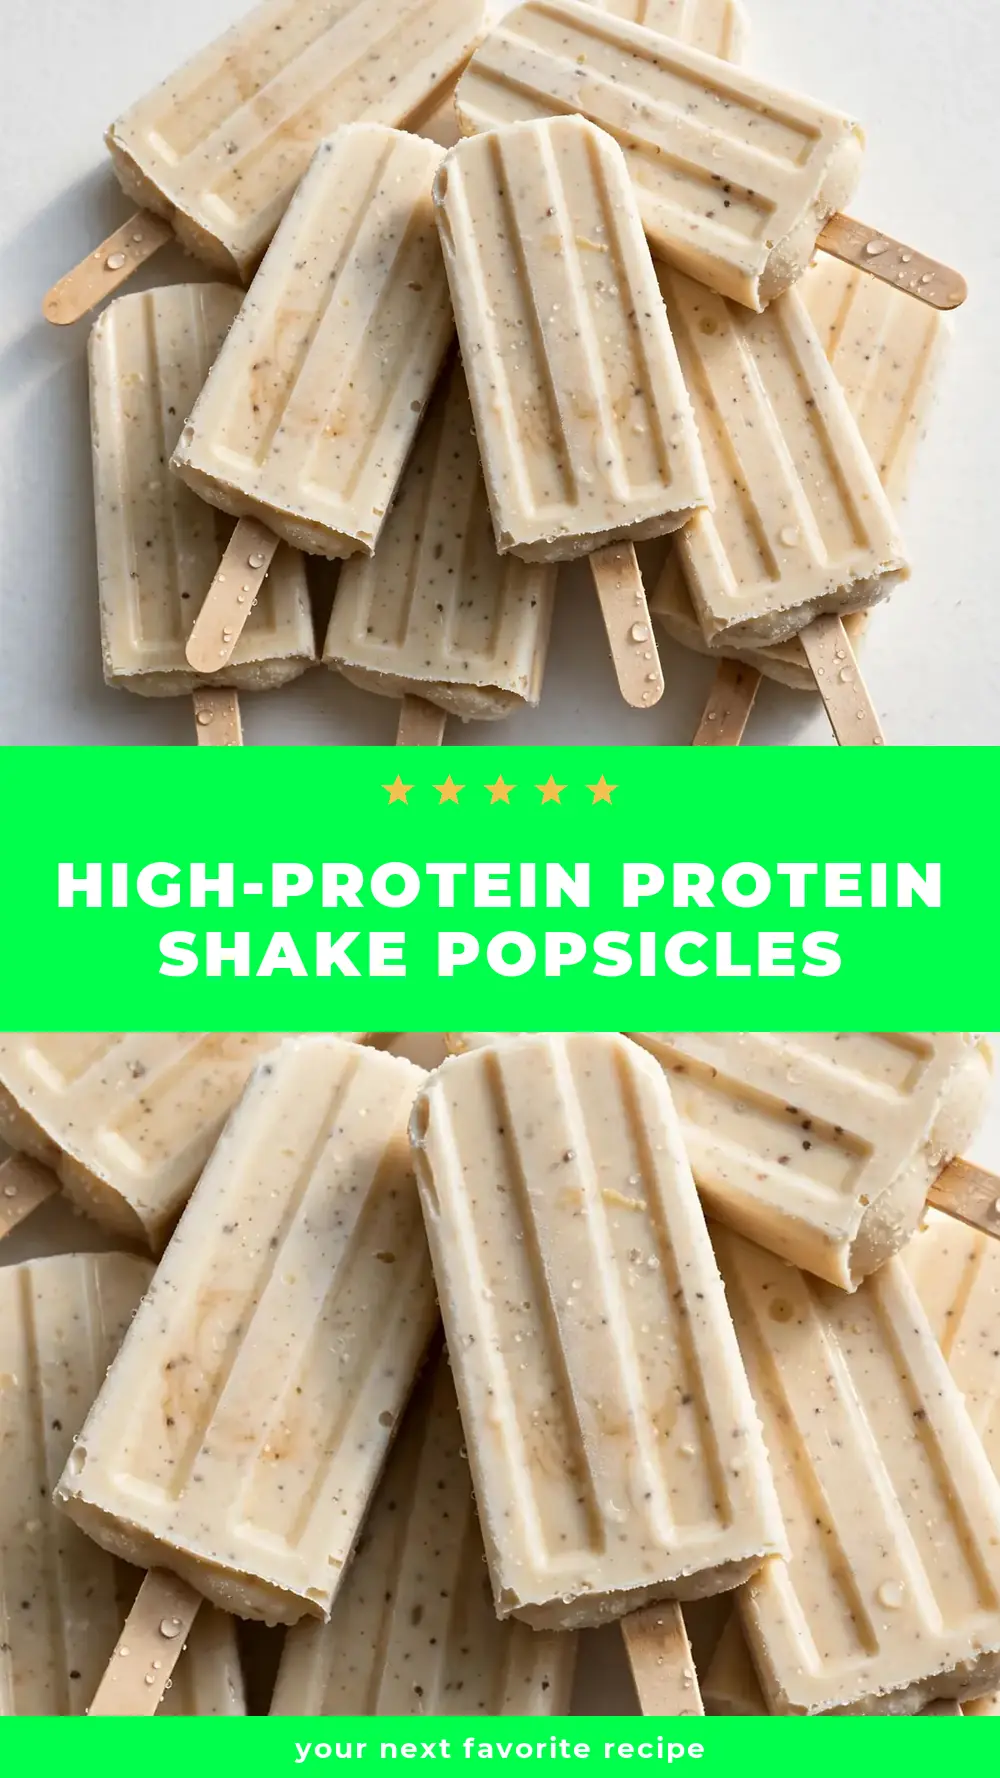
- No Chalky Texture: The secret is a blend of frozen banana and Greek yoghurt, which gives these popsicles a creamy, almost ice-cream-like mouthfeel without any of that gritty protein powder sensation.
- Perfect Portion Control: Each pop is a pre-measured, grab-and-go serving of protein. No more guessing how much powder you’ve just tipped into a shaker bottle.
- Endlessly Customisable: This base recipe is a blank canvas. You can swap the fruit, change the protein powder flavour, or add mix-ins like cacao nibs or nut butter to suit your cravings.
- Zero Sugar Spikes: Sweetened only by fruit and a touch of honey or maple syrup, these popsicles provide steady energy without the crash you get from sugary desserts.
Ingredients You’ll Need
- 2 large, ripe bananas (the spotter, the sweeter)
- 500ml unsweetened almond milk (or any milk you prefer)
- 150g plain Greek yoghurt (full-fat or low-fat, both work)
- 2 scoops (about 60g) vanilla or unflavoured protein powder (whey or plant-based)
- 2 tablespoons smooth peanut butter (or any nut/seed butter)
- 1 tablespoon honey or maple syrup (optional, depending on sweetness of bananas)
- 1 teaspoon vanilla extract
- A pinch of sea salt
- Optional: 30g dark chocolate chips or cacao nibs for texture
Tip: For the creamiest texture, use bananas that are fully ripe with brown spots. They blend into a natural custard-like base that eliminates the need for extra sweeteners or thickeners.
How to Make High-Protein Protein Shake Popsicles
- Blend the base: In a high-speed blender, combine the bananas, almond milk, Greek yoghurt, protein powder, peanut butter, honey (if using), vanilla extract, and salt. Blend on high for 45–60 seconds. You’re looking for a completely smooth, velvety liquid with no visible chunks of banana or streaks of protein powder. The mixture should smell fragrantly of peanut butter and vanilla, with a thick, pourable consistency similar to a milkshake.
- Taste and adjust: Pause here. Dip a clean spoon into the mixture and taste it. It should be pleasantly sweet and creamy. If it tastes too ‘protein-y’ or artificial, add another tablespoon of peanut butter or a splash more milk. This is your final chance to balance the flavour before freezing.
- Fold in add-ins: If you’re using chocolate chips or cacao nibs, pour the blended mixture into a large jug and gently fold them in with a spatula. You want them evenly distributed, not clumped at the bottom. The sound of the spatula scraping against the jug will tell you the mixture is ready.
- Fill the moulds: Carefully pour the mixture into your popsicle moulds, leaving about 1cm of space at the top for expansion. Tap the mould gently on the counter a few times to release any air bubbles. You’ll see small bubbles rise to the surface and pop, which ensures a dense, creamy final texture rather than an icy one.
- Insert sticks and freeze: Place the popsicle sticks into the centre of each mould. If your mould has a lid, secure it. Place the moulds on a flat surface in the freezer. Freeze for at least 4–6 hours, but overnight is best. The popsicles should be rock-solid to the touch; if they feel soft or bendable, they need more time.
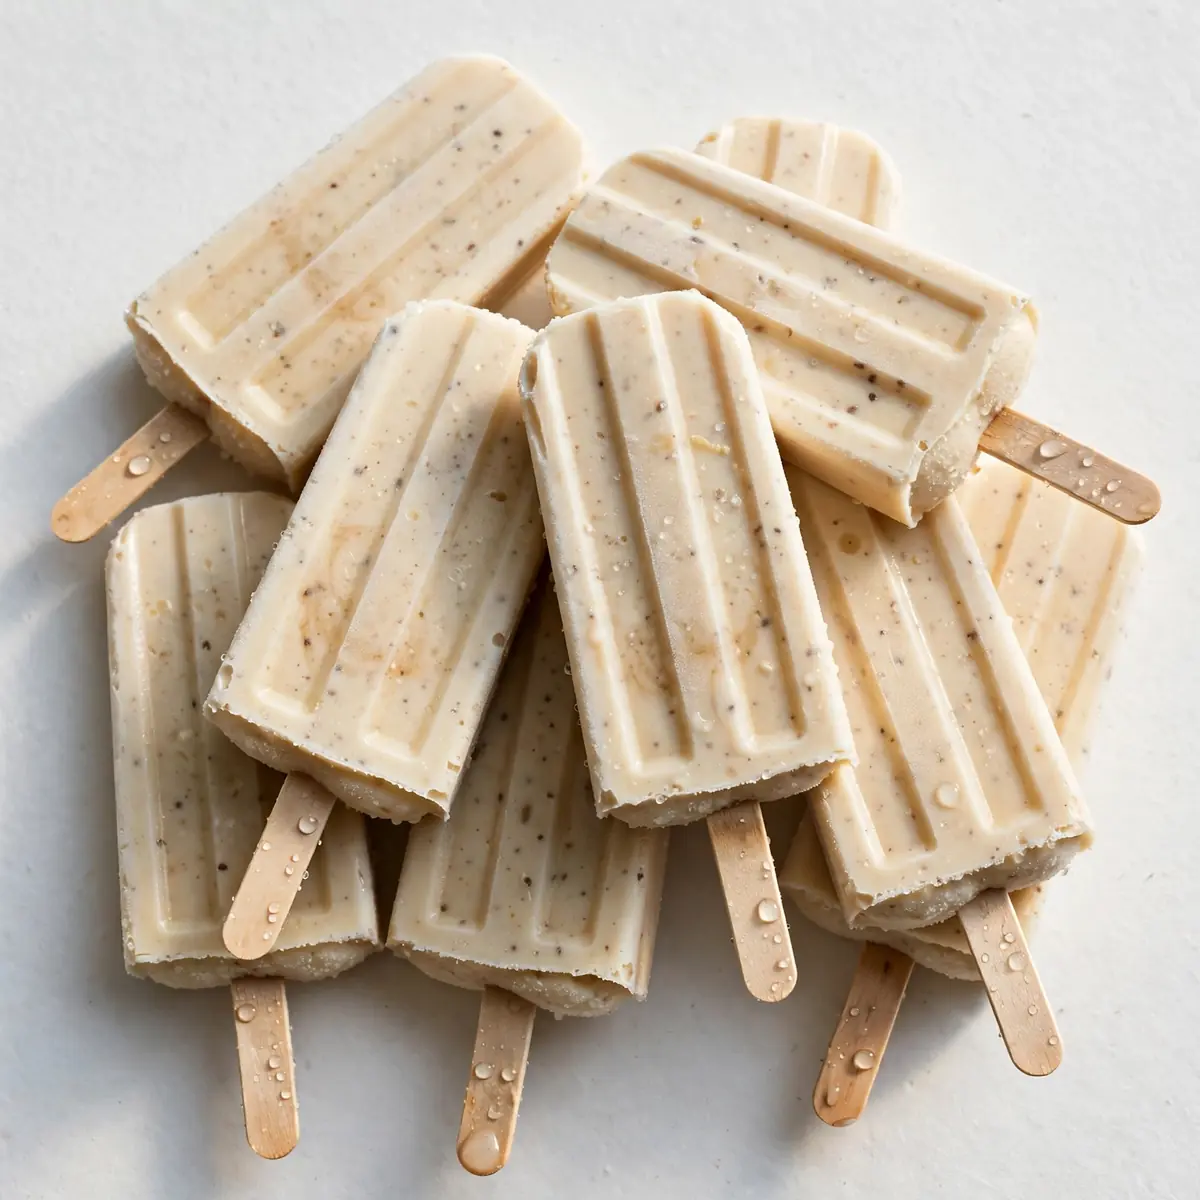
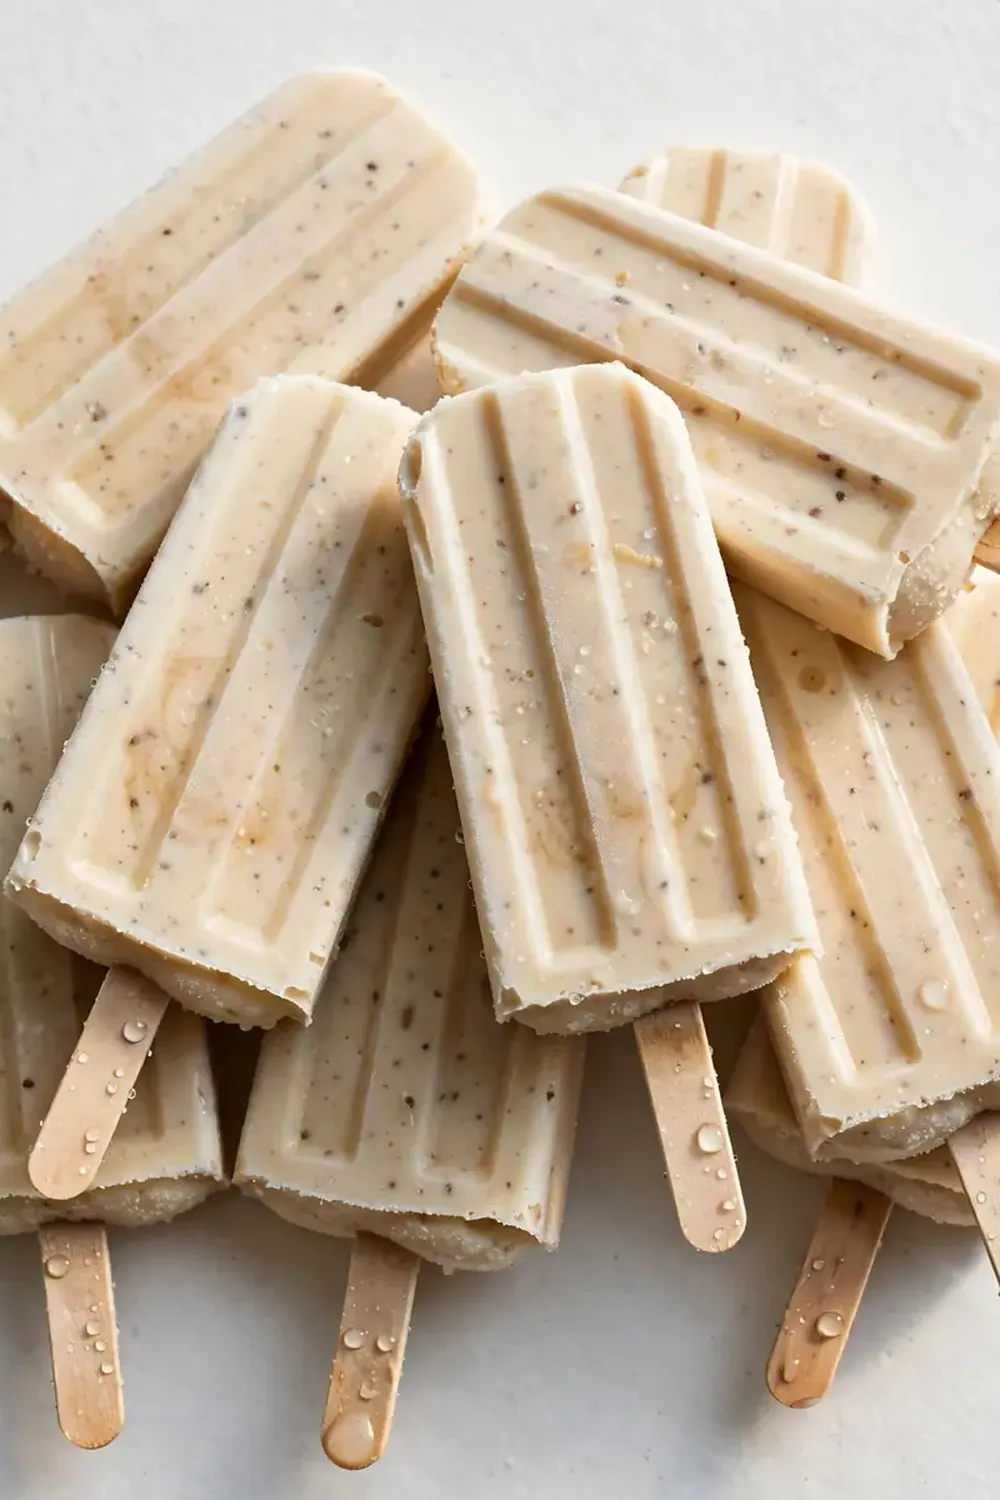
- Unmould and serve: When ready to enjoy, run the mould under warm (not hot) water for 10–15 seconds. Gently wiggle the stick; the popsicle should slide out with a slight pop. The surface will be smooth and glossy, with a creamy, pale beige colour flecked with dark chocolate chips if you added them.
Tips From My Kitchen
- Use frozen banana for extra creaminess: I make this at least once a week, and using frozen bananas is the single best tip I can offer. Freeze your overripe bananas in slices on a tray, then add them directly to the blender. They act as a natural ice cream base, making the popsicles significantly creamier without any added fat or sugar.
- Pre-portion your protein powder: To save time during frantic mornings, I pre-scoop my protein powder into small zip-lock bags or a dedicated container. When it’s time to blend, I just dump it in. This also prevents the dreaded ‘protein cloud’ that happens when you dump powder into liquid too quickly.
- Don’t skip the salt: A pinch of salt is non-negotiable. It doesn’t make the popsicles salty; it actually enhances the sweetness of the banana and the richness of the peanut butter. Without it, the flavour can fall flat and taste one-dimensional.
- Use silicone moulds for easy release: If you have the choice, opt for silicone popsicle moulds. They are flexible, so you can push the bottom of the mould to release the popsicle without needing to run them under water. This also prevents any water from diluting the surface of your frozen treat.
- Wrap individually for longer storage: Once the popsicles are fully frozen and unmoulded, wrap each one tightly in cling film or place them in a freezer-safe bag. This prevents freezer burn and ice crystals from forming on the surface. They’ll stay perfect for up to a month.
Equipment You’ll Need
- High-speed blender or food processor
- Popsicle moulds (silicone or plastic, with sticks)
- Large jug for pouring
- Spatula for folding in mix-ins
- Sharp knife and cutting board (for slicing bananas)
Common Mistakes to Avoid
- Overcrowding the blender: If you add too many ingredients at once, your blender will struggle to create a smooth consistency. You’ll end up with a chunky, icy mess. Always start with the liquids, then add the soft and frozen ingredients in batches, stopping to scrape down the sides as needed.
- Using warm ingredients: If your yoghurt and milk are at room temperature, the mixture will take much longer to freeze and may develop large ice crystals. Always use chilled ingredients, and if your bananas are fresh, pop them in the freezer for 15 minutes before blending to keep the base cold.
- Skipping the rest time in the freezer: Rushing the freezing process by checking on them every hour will create uneven texture. The popsicles need at least 4–6 hours of uninterrupted, still freezing. Opening the freezer door repeatedly lets warm air in and causes ice crystals to form, ruining that creamy texture you worked for.
Delicious Variations to Try
- Spicy Mango Version: Replace the bananas with 200g frozen mango chunks and add a pinch of cayenne pepper and a squeeze of lime juice. The heat from the cayenne contrasts beautifully with the sweet mango, and the protein powder keeps it grounded. This is my go-to recipe when I need something quick but impressive for a post-workout treat.
- Chocolate Coconut Dream: Use chocolate protein powder instead of vanilla, replace the peanut butter with 2 tablespoons of coconut cream, and fold in 30g of unsweetened desiccated coconut. The result tastes like a Bounty bar, but with a solid protein punch.
- Different Protein Base: If you’re not a fan of whey, try using a pea protein isolate or a brown rice protein powder. These plant-based options can sometimes be grainier, so be sure to blend for an extra 30 seconds and add an extra tablespoon of Greek yoghurt to smooth out the texture.
What to Serve With High-Protein Protein Shake Popsicles
- As a post-workout snack alongside a High Protein Cheese And Almond Snack Pack for a balanced, savoury-sweet combo.
- For a lighter dessert, serve one popsicle with a handful of fresh berries and a dollop of extra Greek yoghurt.
- Crush a popsicle into a bowl and top it with granola and a drizzle of nut butter for a high-protein breakfast bowl. For more breakfast ideas, check out our High Protein Breakfast category.
- Pair it with a warm cup of herbal tea on a cosy evening for a guilt-free sweet treat.
Frequently Asked Questions
High-Protein Protein Shake Popsicles
Ingredients
Method
-
Blend the base: In a high-speed blender, combine the bananas, almond milk, Greek yoghurt, protein powder, peanut butter, honey (if using), vanilla extract, and salt. Blend on high for 45–60 seconds. You’re looking for a completely smooth, velvety liquid with no visible chunks of banana or streaks of protein powder. The mixture should smell fragrantly of peanut butter and vanilla, with a thick, pourable consistency similar to a milkshake.
-
Taste and adjust: Pause here. Dip a clean spoon into the mixture and taste it. It should be pleasantly sweet and creamy. If it tastes too ‘protein-y’ or artificial, add another tablespoon of peanut butter or a splash more milk. This is your final chance to balance the flavour before freezing.
-
Fold in add-ins: If you’re using chocolate chips or cacao nibs, pour the blended mixture into a large jug and gently fold them in with a spatula. You want them evenly distributed, not clumped at the bottom. The sound of the spatula scraping against the jug will tell you the mixture is ready.
-
Fill the moulds: Carefully pour the mixture into your popsicle moulds, leaving about 1cm of space at the top for expansion. Tap the mould gently on the counter a few times to release any air bubbles. You’ll see small bubbles rise to the surface and pop, which ensures a dense, creamy final texture rather than an icy one.
-
Insert sticks and freeze: Place the popsicle sticks into the centre of each mould. If your mould has a lid, secure it. Place the moulds on a flat surface in the freezer. Freeze for at least 4–6 hours, but overnight is best. The popsicles should be rock-solid to the touch; if they feel soft or bendable, they need more time.
-
Unmould and serve: When ready to enjoy, run the mould under warm (not hot) water for 10–15 seconds. Gently wiggle the stick; the popsicle should slide out with a slight pop. The surface will be smooth and glossy, with a creamy, pale beige colour flecked with dark chocolate chips if you added them.
Notes
And that’s it — a budget-friendly, batch-cooked treat that makes hitting your protein goals feel like a proper indulgence. I’d love to hear how you get on with these popsicles. Do you prefer them with chocolate chips or a swirl of extra peanut butter? Drop a comment below and let me know your favourite variation. For more meal-prep inspiration, have a look at our High Protein Desserts collection and the High Protein Teriyaki Chicken Meal Prep Bowls for a complete savoury-sweet meal prep plan.