Cottage Cheese Cheesecake Cups
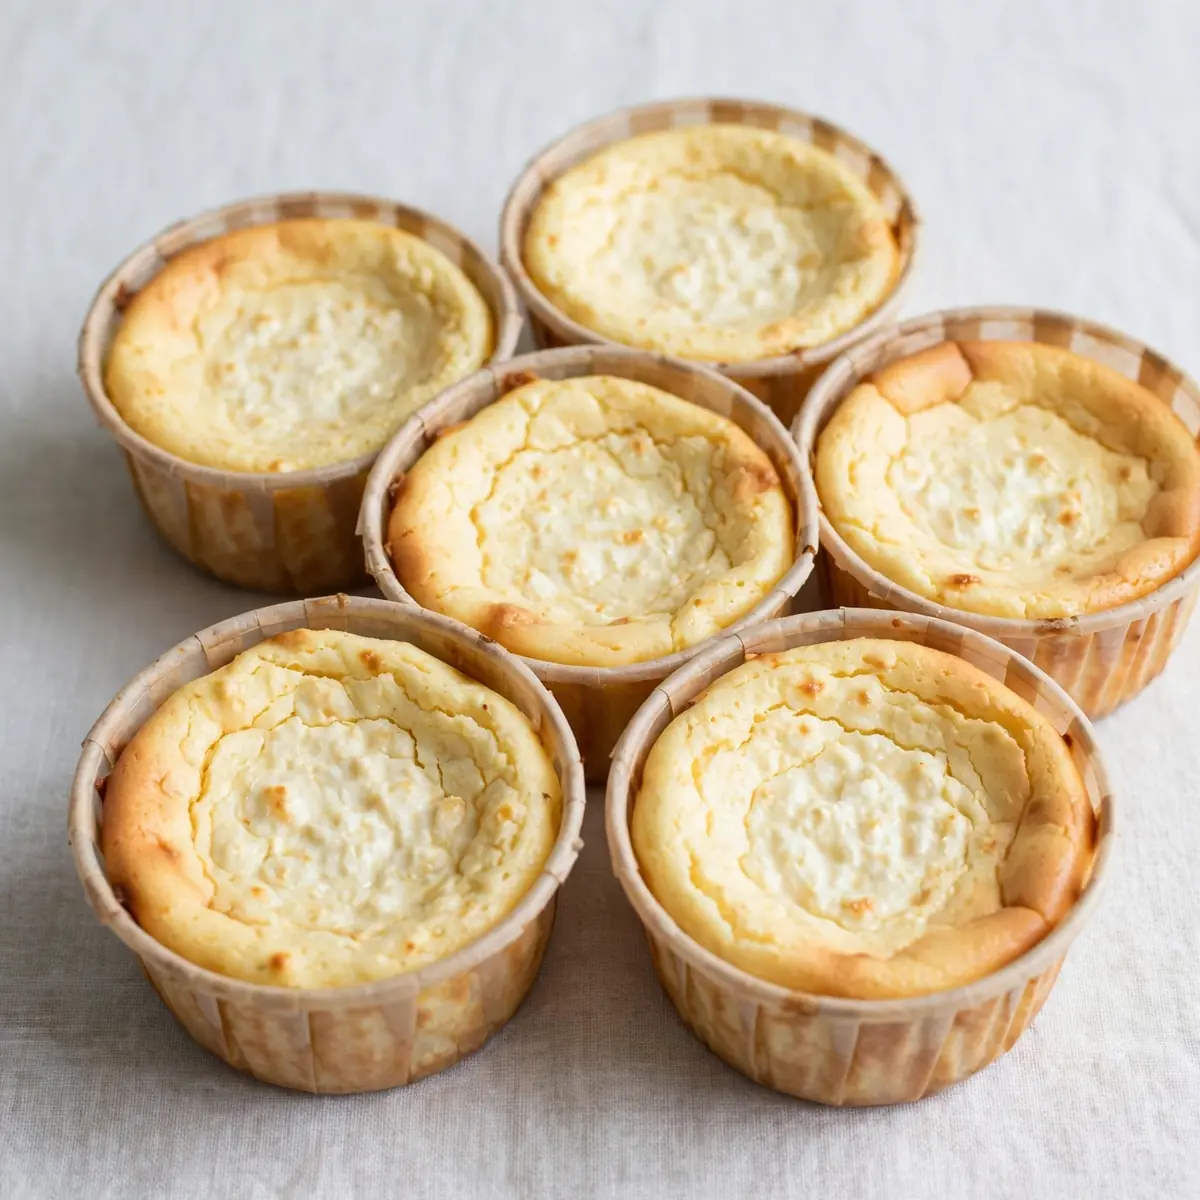
I remember standing in my kitchen last January, staring at a block of cottage cheese and wondering if I could turn it into something that felt like a treat without blowing my weekly food budget. After testing this recipe five times, I finally got it just right — and these Cottage Cheese Cheesecake Cups are now a staple in my weekly meal prep.
Recipe Overview
- Prep Time: 15 minutes
- Cook Time: 25 minutes
- Total Time: 40 minutes
- Servings: 6 cups
- Difficulty: Easy
Why You’ll Love This Cottage Cheese Cheesecake Cups
- Budget-friendly batch cooking: Each cup costs roughly 85p to make, which is a fraction of what you’d pay for a single dessert in a café. I batch six at a time and have portions ready for the entire week.
- High protein without the price tag: Cottage cheese is one of the most affordable high-protein ingredients around. Each cup delivers around 18g of protein, keeping you full without emptying your wallet.
- Reheats beautifully: Unlike many baked cheesecakes that turn soggy, these cups warm up in the microwave for 20 seconds and taste freshly made. The texture stays creamy, not watery.
- Portion-controlled meal prep: Having individual cups in the fridge means I grab one for dessert or a snack without overeating. No more digging into a whole cheesecake with a spoon.
- Minimal equipment, maximum results: You don’t need a springform tin or a water bath. Just a muffin tray, a mixing bowl, and a hand mixer — things most of us already own.
Ingredients You’ll Need
- 500g full-fat cottage cheese
- 3 large eggs
- 80g caster sugar
- 1 teaspoon vanilla extract
- 2 tablespoons plain flour
- 1 tablespoon cornflour
- Zest of 1 lemon
- 150g digestive biscuits
- 60g unsalted butter, melted
- Pinch of sea salt
- Optional topping: 150g fresh mixed berries
Tip: For the creamiest texture, let your cottage cheese and eggs sit at room temperature for 20 minutes before you begin. Cold ingredients can make the batter lumpy and lead to a grainy cheesecake.
How to Make Cottage Cheese Cheesecake Cups
- Prepare the crust: Place the digestive biscuits in a sealed freezer bag and crush them with a rolling pin until you have fine crumbs with a few slightly larger pieces — the texture should resemble wet sand. Mix the crumbs with melted butter and a pinch of salt until the mixture clumps when pressed between your fingers.
- Line your muffin tray: Cut six strips of baking parchment, each about 15cm by 8cm, and press them into the wells of a standard 12-hole muffin tray so the edges stick up like handles. This makes lifting the cups out effortless later.
- Press the crust: Divide the biscuit mixture evenly among the six lined wells — about two tablespoons per cup. Press it down firmly with the back of a small spoon or the bottom of a shot glass. You want a compact, even layer that will hold together after baking.
- Blend the filling: In a large mixing bowl, beat the cottage cheese with a hand mixer on medium speed for about 2 minutes. The mixture should look smooth and creamy, with no visible curds remaining. Add the eggs one at a time, beating after each addition until the batter turns pale and slightly thickened.
- Add remaining ingredients: Sprinkle in the caster sugar, vanilla extract, plain flour, cornflour, and lemon zest. Beat on low speed just until combined — about 30 seconds. The batter should be silky and pourable, with a faint lemony scent rising from the bowl. If you scrape the side, the mixture should fall back in a smooth ribbon.
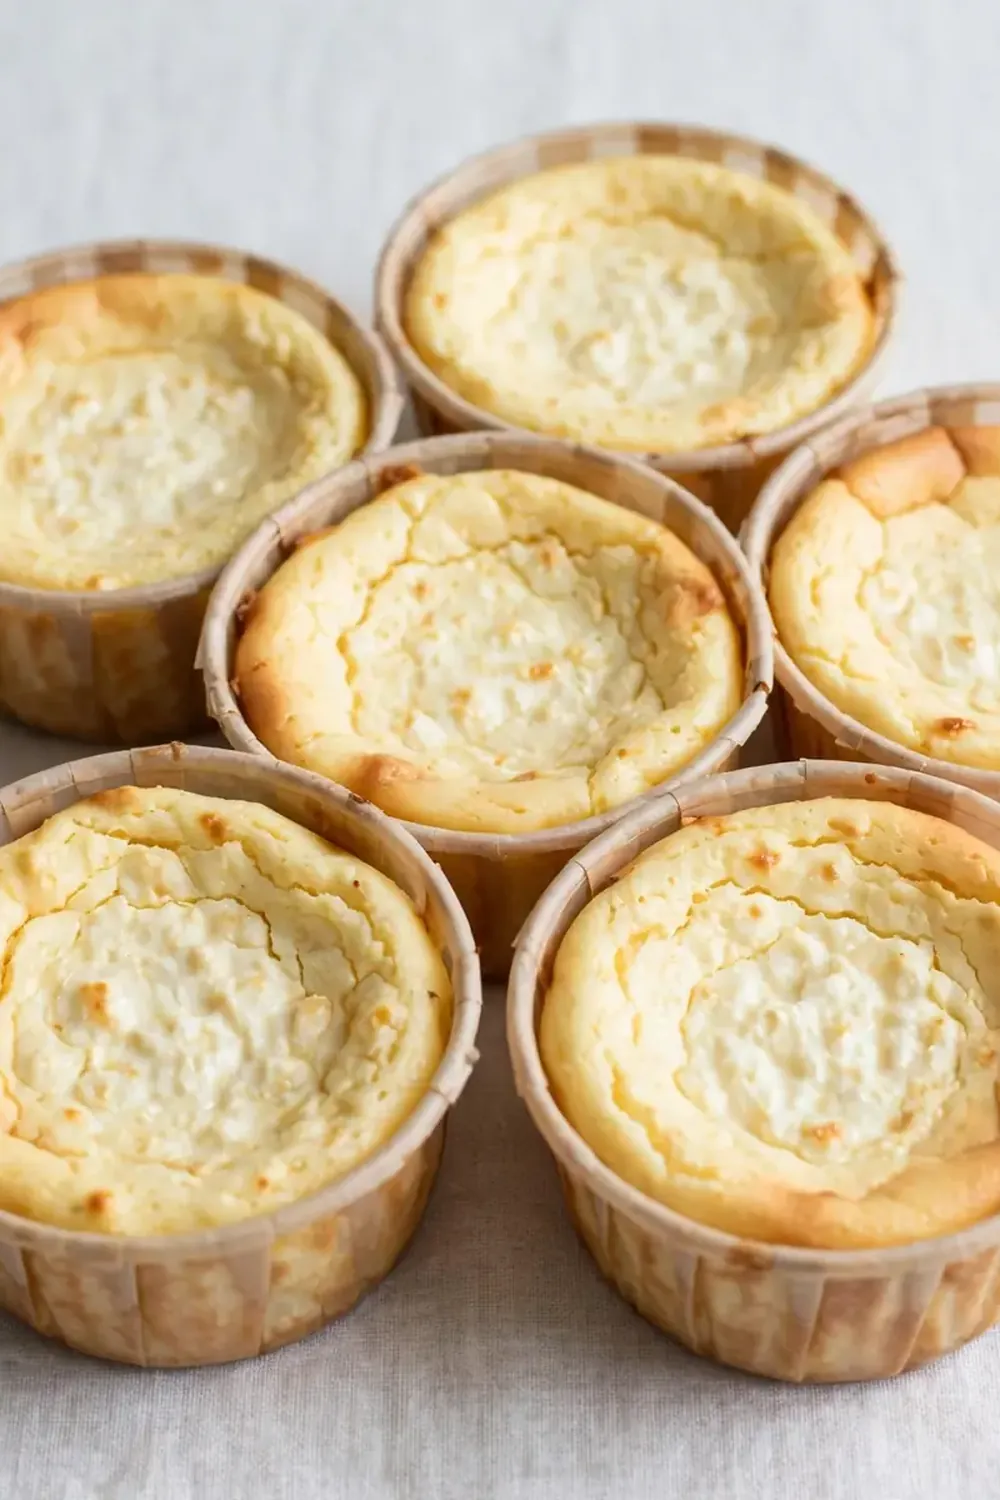
- Fill and bake: Divide the filling evenly among the crust-lined cups, filling each about three-quarters full. Bake at 160°C (fan-assisted) for 22 to 25 minutes. The cheesecakes are done when the edges look set and slightly puffed, but the centres still wobble gently when you jiggle the tray — like a firm jelly. The surface should be pale gold with no browning.
- Cool and chill: Leave the tray on a wire cooling rack for 30 minutes at room temperature. The cups will deflate slightly as they cool. Then transfer the tray to the fridge and chill for at least 3 hours — overnight is better. The texture firms up beautifully, becoming dense and creamy rather than crumbly.
Tips From My Kitchen
- Don’t skip the room temperature step: Cold cottage cheese straight from the fridge creates a lumpy batter that bakes unevenly. By letting it sit out for 20 minutes, the proteins relax and blend smoothly with the eggs, giving you that velvety cheesecake texture without any graininess.
- Press the crust firmly: A loose crust will crumble the moment you try to lift the cup out of the tray. I press mine with the bottom of a small glass until it feels compact and solid. The butter needs to fully coat every crumb so the crust holds together like a shortbread base.
- Use parchment paper handles: Cutting strips of parchment and placing them across each well before adding the crust makes removal foolproof. No more digging around with a knife and ending up with a broken cheesecake. Just pull up on the paper ends and the cup slides right out.
- Bake at a low temperature: A moderate 160°C fan oven is key here. Higher heat will cause the eggs to scramble and the cheesecake to crack on top. The low, gentle heat allows the filling to set slowly, keeping the centre creamy while the edges hold their shape.
- Chill thoroughly before serving: I know it’s tempting to dig in after 30 minutes of cooling, but the texture needs that fridge time to fully set. Three hours minimum, but overnight transforms them into something dense and sliceable. The flavour also deepens — the lemon and vanilla become more pronounced.
Equipment You’ll Need
- Stand mixer or hand mixer
- 12-hole muffin tray
- Baking parchment
- Rolling pin or food processor for crushing biscuits
- Mixing bowls (medium and large)
- Wire cooling rack
- Measuring spoons and scales
Common Mistakes to Avoid
- Overmixing the batter: Beating the filling for too long after adding the flour develops the gluten, making the cheesecake dense and rubbery rather than creamy. Mix just until the streaks disappear — about 30 seconds on low speed is plenty.
- Skipping the rest time after baking: Taking the cheesecakes straight from the oven to the fridge causes thermal shock, which leads to cracking on the surface and a watery texture. Let them rest on the counter for 30 minutes first so the temperature drops gradually.
- Using low-fat cottage cheese: Low-fat or skimmed cottage cheese has a higher water content, which makes the filling runny and prevents it from setting properly. Full-fat cottage cheese gives you that rich, creamy consistency that actually feels like a cheesecake.
Delicious Variations to Try
- Spiced Apple Version: Swap the lemon zest for 1 teaspoon of ground cinnamon and ½ teaspoon of nutmeg. Top each cup with a spoonful of stewed apple before baking for a cosy autumn dessert.
- Vegan Option: Substitute the cottage cheese with 500g of silken tofu and use flax eggs (1 tablespoon ground flaxseed mixed with 3 tablespoons water per egg). Use coconut oil instead of butter for the crust. The texture will be slightly lighter but still creamy.
- Chocolate Twist: Add 2 tablespoons of cocoa powder to the filling and swap the digestive biscuits for chocolate digestives. Fold in 50g of dark chocolate chips before baking for pockets of melted chocolate in every bite.
What to Serve With Cottage Cheese Cheesecake Cups
- A handful of fresh berries or a drizzle of berry compote for a tart contrast
- A dollop of Greek yoghurt mixed with a little honey for extra creaminess
- A cup of strong black coffee or peppermint tea to cut through the richness
- If you’re enjoying one as part of a high protein breakfast, pair it with a poached egg on toast for a balanced start to the day
Frequently Asked Questions
Cottage Cheese Cheesecake Cups
Ingredients
Method
-
Prepare the crust: Place the digestive biscuits in a sealed freezer bag and crush them with a rolling pin until you have fine crumbs with a few slightly larger pieces — the texture should resemble wet sand. Mix the crumbs with melted butter and a pinch of salt until the mixture clumps when pressed between your fingers.
-
Line your muffin tray: Cut six strips of baking parchment, each about 15cm by 8cm, and press them into the wells of a standard 12-hole muffin tray so the edges stick up like handles. This makes lifting the cups out effortless later.
-
Press the crust: Divide the biscuit mixture evenly among the six lined wells — about two tablespoons per cup. Press it down firmly with the back of a small spoon or the bottom of a shot glass. You want a compact, even layer that will hold together after baking.
-
Blend the filling: In a large mixing bowl, beat the cottage cheese with a hand mixer on medium speed for about 2 minutes. The mixture should look smooth and creamy, with no visible curds remaining. Add the eggs one at a time, beating after each addition until the batter turns pale and slightly thickened.
-
Add remaining ingredients: Sprinkle in the caster sugar, vanilla extract, plain flour, cornflour, and lemon zest. Beat on low speed just until combined — about 30 seconds. The batter should be silky and pourable, with a faint lemony scent rising from the bowl. If you scrape the side, the mixture should fall back in a smooth ribbon.
-
Fill and bake: Divide the filling evenly among the crust-lined cups, filling each about three-quarters full. Bake at 160°C (fan-assisted) for 22 to 25 minutes. The cheesecakes are done when the edges look set and slightly puffed, but the centres still wobble gently when you jiggle the tray — like a firm jelly. The surface should be pale gold with no browning.
-
Cool and chill: Leave the tray on a wire cooling rack for 30 minutes at room temperature. The cups will deflate slightly as they cool. Then transfer the tray to the fridge and chill for at least 3 hours — overnight is better. The texture firms up beautifully, becoming dense and creamy rather than crumbly.
Notes
This is my go-to recipe when I need something quick but impressive, and the best part is how little effort it takes to make a whole week’s worth of desserts. The cottage cheese keeps the protein high and the cost low, so you can treat yourself every single day without guilt. I’d love to hear how you get on with these — drop a comment below and let me know which variation you tried first.