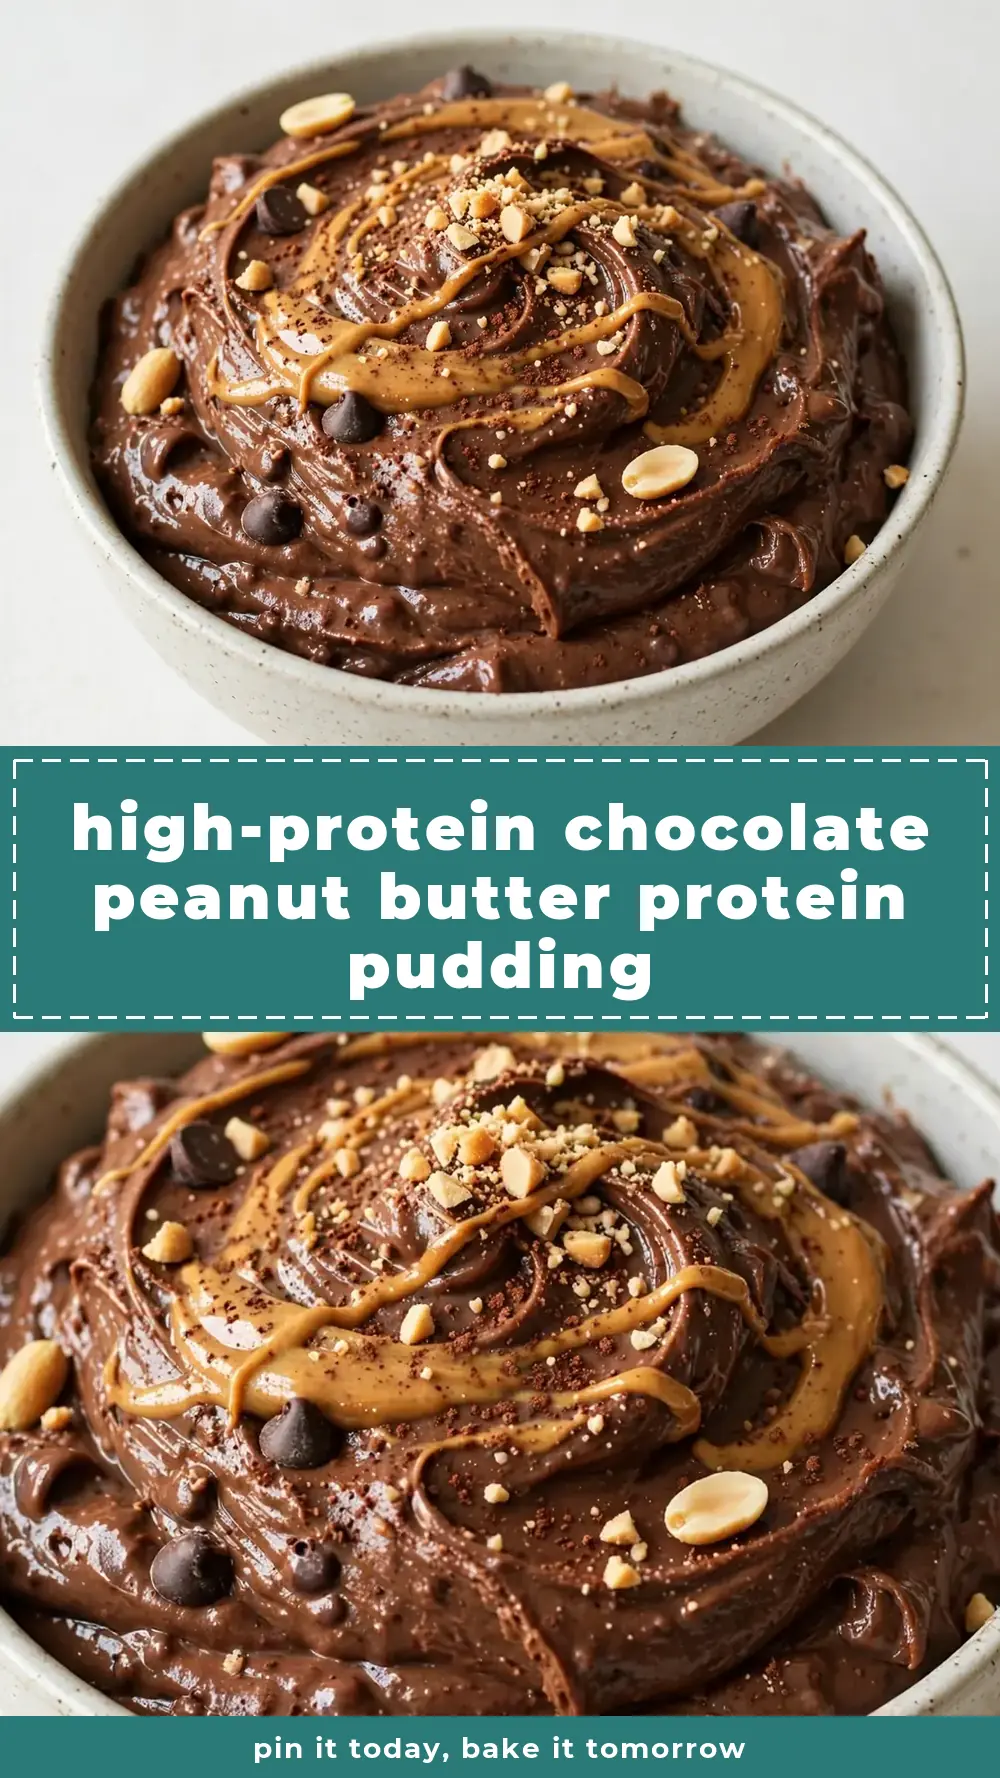
High-Protein Chocolate Peanut Butter Protein Pudding
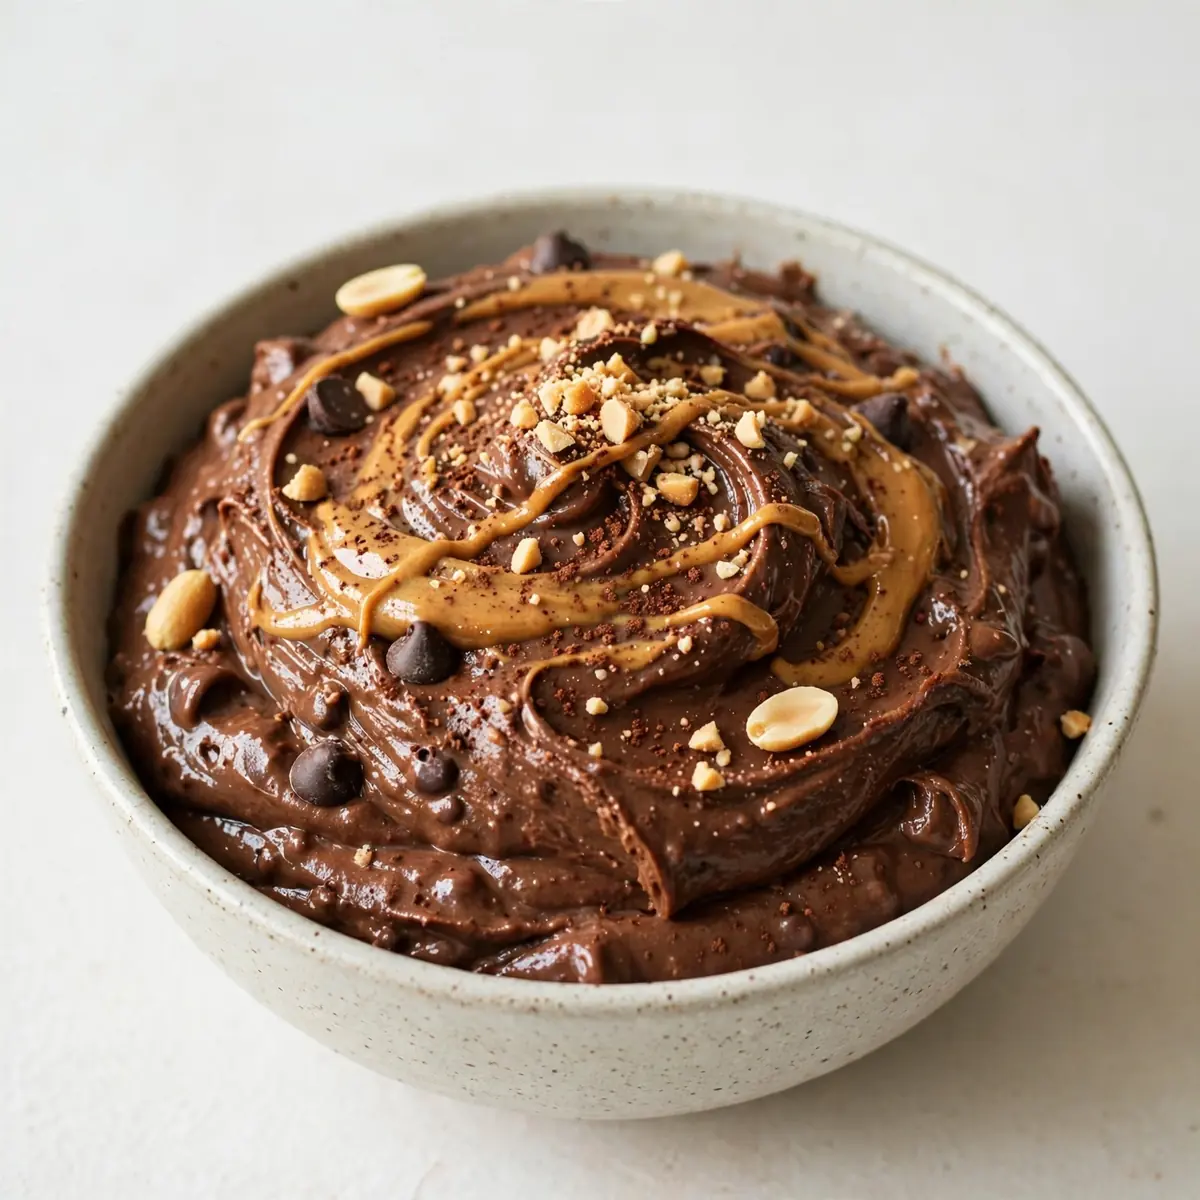
When the demands of a busy week loom, having nourishing, satisfying meals prepped and ready can feel like a superpower. Life often throws curveballs, making it a challenge to stick to healthy eating without breaking the bank. That’s where this High-Protein Chocolate Peanut Butter Protein Pudding steps in – a truly game-changing recipe that combines deliciousness with unbeatable practicality.
Recipe Overview
- Prep time: 15 minutes
- Cook time: 5 minutes (for the optional stovetop method)
- Total time: 20 minutes (plus chilling)
- Servings: 6 generous portions
- Difficulty: Very Easy
Why You’ll Love This High-Protein Chocolate Peanut Butter Protein Pudding
- Unbeatable Value: Crafted with everyday, affordable ingredients, this pudding significantly cuts down on your weekly food spend, especially when compared to shop-bought protein snacks. Batch cooking means maximum savings.
- Effortless Meal Prep: Designed for convenience, this recipe yields multiple servings that can be stored for days, making your busy mornings and snack times a breeze. Just grab and go!
- Protein Powerhouse: Packed with quality protein from Greek yoghurt and protein powder, it’s an ideal choice for muscle recovery, satiety, and maintaining energy levels throughout the day.
- Irresistibly Delicious: Who said healthy eating had to be bland? This pudding delivers a rich, decadent chocolate and peanut butter flavour profile that genuinely tastes like a treat.
- Customisable & Versatile: Easily adaptable to your taste and dietary needs, you can adjust sweetness, consistency, and even add extra toppings to keep things exciting.
Ingredients You’ll Need
- 500g plain Greek yoghurt (full-fat or 0% fat, depending on preference)
- 250ml semi-skimmed milk (or plant-based alternative like almond or oat milk)
- 60g chocolate protein powder (whey or plant-based)
- 40g unsweetened cocoa powder
- 60g smooth peanut butter (ensure no added sugar or palm oil)
- 2-4 tbsp sweetener of choice (e.g., maple syrup, honey, erythritol, to taste)
- 1 tsp vanilla extract
- Pinch of fine sea salt
- 1 tbsp chia seeds (optional, for extra thickness and fibre)
Tip: For an even creamier, thicker pudding, consider using a good quality, thicker Greek yoghurt. The consistency can vary significantly between brands, impacting the final texture.
How to Make High-Protein Chocolate Peanut Butter Protein Pudding
- Combine Wet Ingredients: In a large mixing bowl, add the Greek yoghurt, milk, peanut butter, sweetener, and vanilla extract. Whisk these together vigorously until the mixture is smooth and evenly combined, with the peanut butter fully incorporated and no visible streaks. It should have a light, creamy, uniform beige colour.
- Sift Dry Ingredients: In a separate smaller bowl, sift together the chocolate protein powder, unsweetened cocoa powder, and a pinch of salt. Sifting helps prevent lumps and ensures a smoother final pudding. The powders will look fine and fluffy.
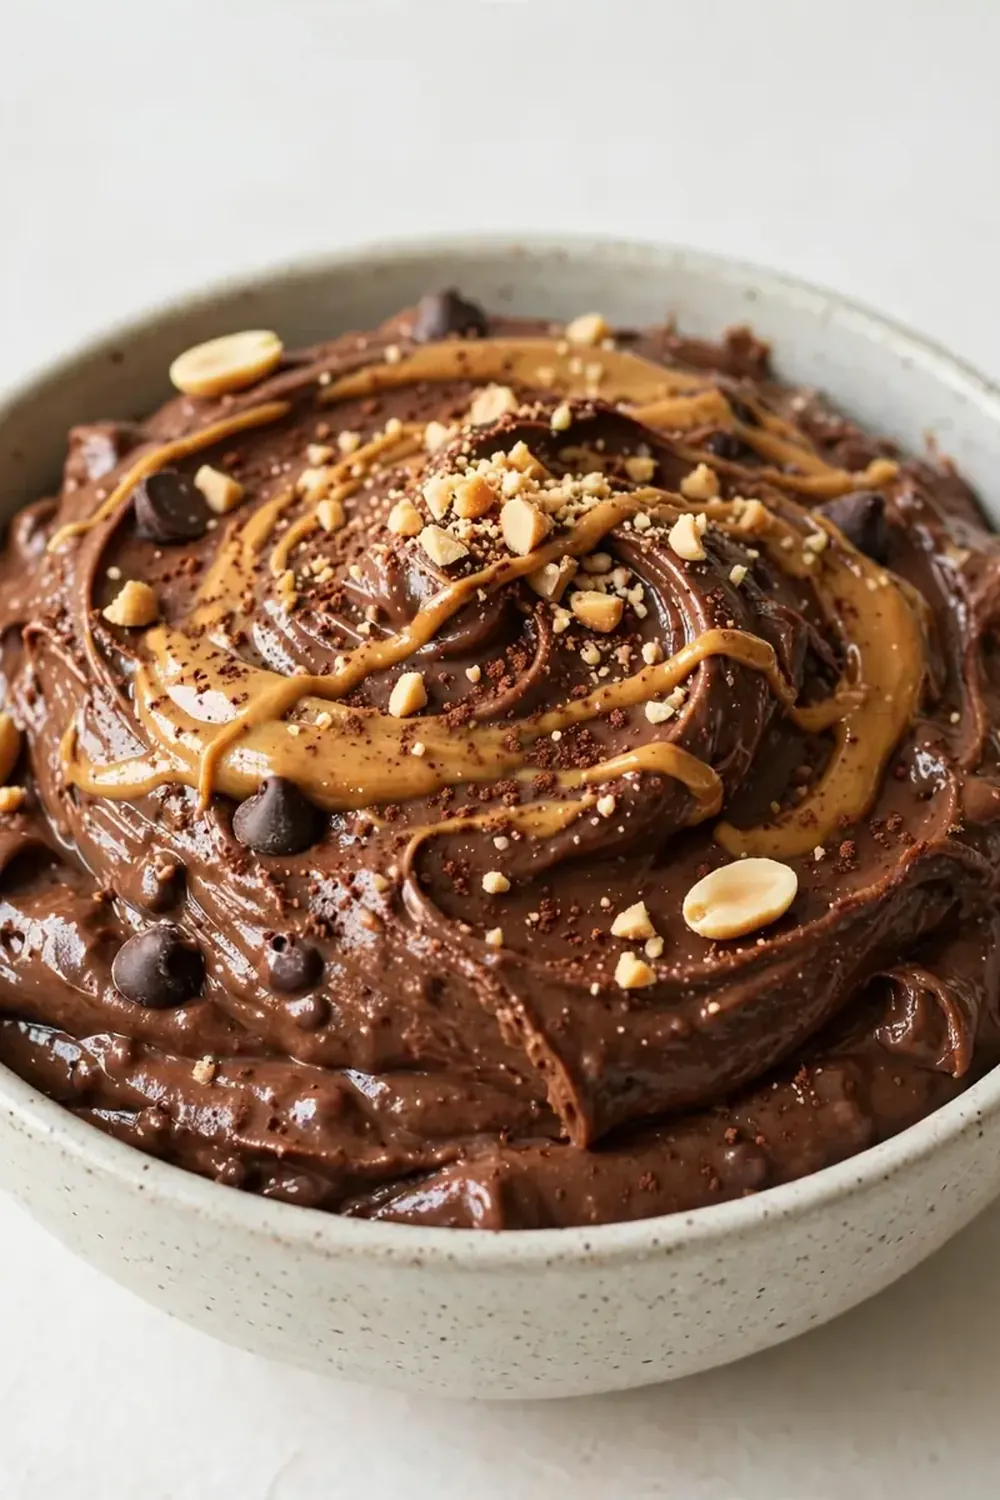
- Gradually Incorporate Dry into Wet: Slowly add the sifted dry ingredients to the wet mixture, a third at a time, whisking continuously after each addition. This gradual approach is key to preventing lumps. Continue whisking until the mixture transforms into a rich, dark brown colour and has a thick, glossy sheen. There should be no dry pockets of powder.
- Add Chia Seeds (Optional): If using, stir in the chia seeds now. Give the mixture another good whisk to ensure they are evenly distributed. The pudding will still be relatively fluid but will start to thicken slightly as the chia seeds begin to absorb moisture.
- Taste and Adjust: Take a small spoon and taste the pudding. This is your chance to adjust the sweetness. If it’s not sweet enough for your liking, add another tablespoon of your chosen sweetener and whisk again until fully dissolved. The flavour should be balanced between chocolate, peanut butter, and sweetness.
- Portion and Chill: Divide the pudding evenly into six individual serving pots or airtight containers. Place them in the refrigerator to chill for at least 2-4 hours, or ideally overnight. As it chills, the pudding will firm up significantly, developing a luxurious, spoonable texture. When ready, the surface will be smooth and cool to the touch.
Tips From My Kitchen
- Choosing Your Protein Powder Wisely: The type of protein powder you use can significantly impact the final taste and texture. I’ve found that a good quality whey concentrate or isolate blends beautifully, resulting in a very smooth pudding. If using a plant-based protein, some can be a bit grittier or have a stronger flavour, so choose one you genuinely enjoy. After testing this recipe five times with different brands, I finally got it just right with a specific chocolate whey protein that dissolves effortlessly.
- Achieving the Perfect Consistency: If your pudding seems too thick after mixing, add a tablespoon or two more milk until it reaches your desired consistency. Conversely, if it’s a bit too runny, a teaspoon of cornflour (mixed with a tiny bit of cold milk first to prevent lumps) can be whisked in, or simply add another tablespoon of chia seeds and let it chill longer. Remember, it will thicken considerably in the fridge.
- Budget-Friendly Ingredient Swaps: To keep costs down, look for own-brand Greek yoghurt and peanut butter when they’re on offer. Instead of expensive sweeteners, consider using a touch of granulated erythritol or a banana blended in for natural sweetness if you have some overripe ones on hand. These small changes add up over time, making this an even more economical option.
- Storage for Longevity: Always store your portioned puddings in airtight containers in the refrigerator. This not only keeps them fresh but also prevents them from absorbing any fridge odours. They’ll stay delicious for up to 4-5 days, making them ideal for a week’s worth of snacks or breakfasts. I make this at least once a week – it’s become a family favourite for quick, protein-packed fuel!
- Flavour Variations to Keep Things Exciting: Don’t be afraid to experiment! For a different twist, try adding a pinch of chilli powder for a Mexican hot chocolate vibe, a teaspoon of instant coffee granules for a mocha pudding, or a handful of frozen berries blended in with the milk. You could also swirl in some caramel sauce (sugar-free if preferred) or sprinkle with desiccated coconut before serving.
- Enhancing the Nutritional Profile: To boost fibre and healthy fats, consider topping your pudding with a sprinkle of crushed nuts, extra chia seeds, or a few fresh berries just before serving. A dollop of extra Greek yoghurt on top also adds more protein and a lovely tang. This pudding is already fantastic, but these additions can take it to the next level.
Common Mistakes to Avoid
- Not sifting dry ingredients: Skipping this step often leads to a lumpy pudding, especially with cocoa powder and protein powder. These fine powders can clump together stubbornly. Always sift your cocoa and protein powder to ensure a silky-smooth, uniform texture in your final product.
- Adding all dry ingredients at once: Dumping all the protein powder and cocoa into the wet mixture simultaneously is a recipe for lumps and an inconsistent blend. Gradually add the sifted dry ingredients in stages, whisking thoroughly after each addition, to allow them to fully hydrate and integrate smoothly.
- Skipping the chilling time: While tempting to dive in straight away, the chilling period is crucial for this pudding. It allows the protein powder to fully absorb moisture, the flavours to meld, and the pudding to firm up to its intended luxurious, spoonable consistency. Aim for at least 2-4 hours, but overnight is always best.
What to Serve With High-Protein Chocolate Peanut Butter Protein Pudding
- A handful of fresh raspberries or sliced banana
- A sprinkle of chopped roasted peanuts or almonds
- A dollop of extra plain Greek yoghurt
- A drizzle of sugar-free chocolate syrup
- A sprinkle of desiccated coconut
Frequently Asked Questions
High-Protein Chocolate Peanut Butter Protein Pudding
Ingredients
Method
-
Combine Wet Ingredients: In a large mixing bowl, add the Greek yoghurt, milk, peanut butter, sweetener, and vanilla extract. Whisk these together vigorously until the mixture is smooth and evenly combined, with the peanut butter fully incorporated and no visible streaks. It should have a light, creamy, uniform beige colour.
-
Sift Dry Ingredients: In a separate smaller bowl, sift together the chocolate protein powder, unsweetened cocoa powder, and a pinch of salt. Sifting helps prevent lumps and ensures a smoother final pudding. The powders will look fine and fluffy.
-
Gradually Incorporate Dry into Wet: Slowly add the sifted dry ingredients to the wet mixture, a third at a time, whisking continuously after each addition. This gradual approach is key to preventing lumps. Continue whisking until the mixture transforms into a rich, dark brown colour and has a thick, glossy sheen. There should be no dry pockets of powder.
-
Add Chia Seeds (Optional): If using, stir in the chia seeds now. Give the mixture another good whisk to ensure they are evenly distributed. The pudding will still be relatively fluid but will start to thicken slightly as the chia seeds begin to absorb moisture.
-
Taste and Adjust: Take a small spoon and taste the pudding. This is your chance to adjust the sweetness. If it’s not sweet enough for your liking, add another tablespoon of your chosen sweetener and whisk again until fully dissolved. The flavour should be balanced between chocolate, peanut butter, and sweetness.
-
Portion and Chill: Divide the pudding evenly into six individual serving pots or airtight containers. Place them in the refrigerator to chill for at least 2-4 hours, or ideally overnight. As it chills, the pudding will firm up significantly, developing a luxurious, spoonable texture. When ready, the surface will be smooth and cool to the touch.
Notes
There you have it – a truly transformative recipe that proves healthy eating doesn’t have to be a drain on your wallet or your time. This High-Protein Chocolate Peanut Butter Protein Pudding is more than just a dessert or a snack; it’s a strategic move for anyone looking to nourish their body efficiently and deliciously, especially when life gets hectic. Give it a try, and I’m confident it’ll become a staple in your meal-prep routine, just as it has in mine. Do share your thoughts and any clever twists you come up with in the comments below – I’m always keen to hear your kitchen adventures!